1) Start with a Pencil Sketch
Before you pick up a pen and start stippling, you need to establish the subject of the drawing with a pencil sketch. The better and more detailed your sketch, the easier the stippling process will be once you reach that point. This becomes more relevant once you get to complex subjects like flowers or portraits, but it is still important when working on simpler subjects.
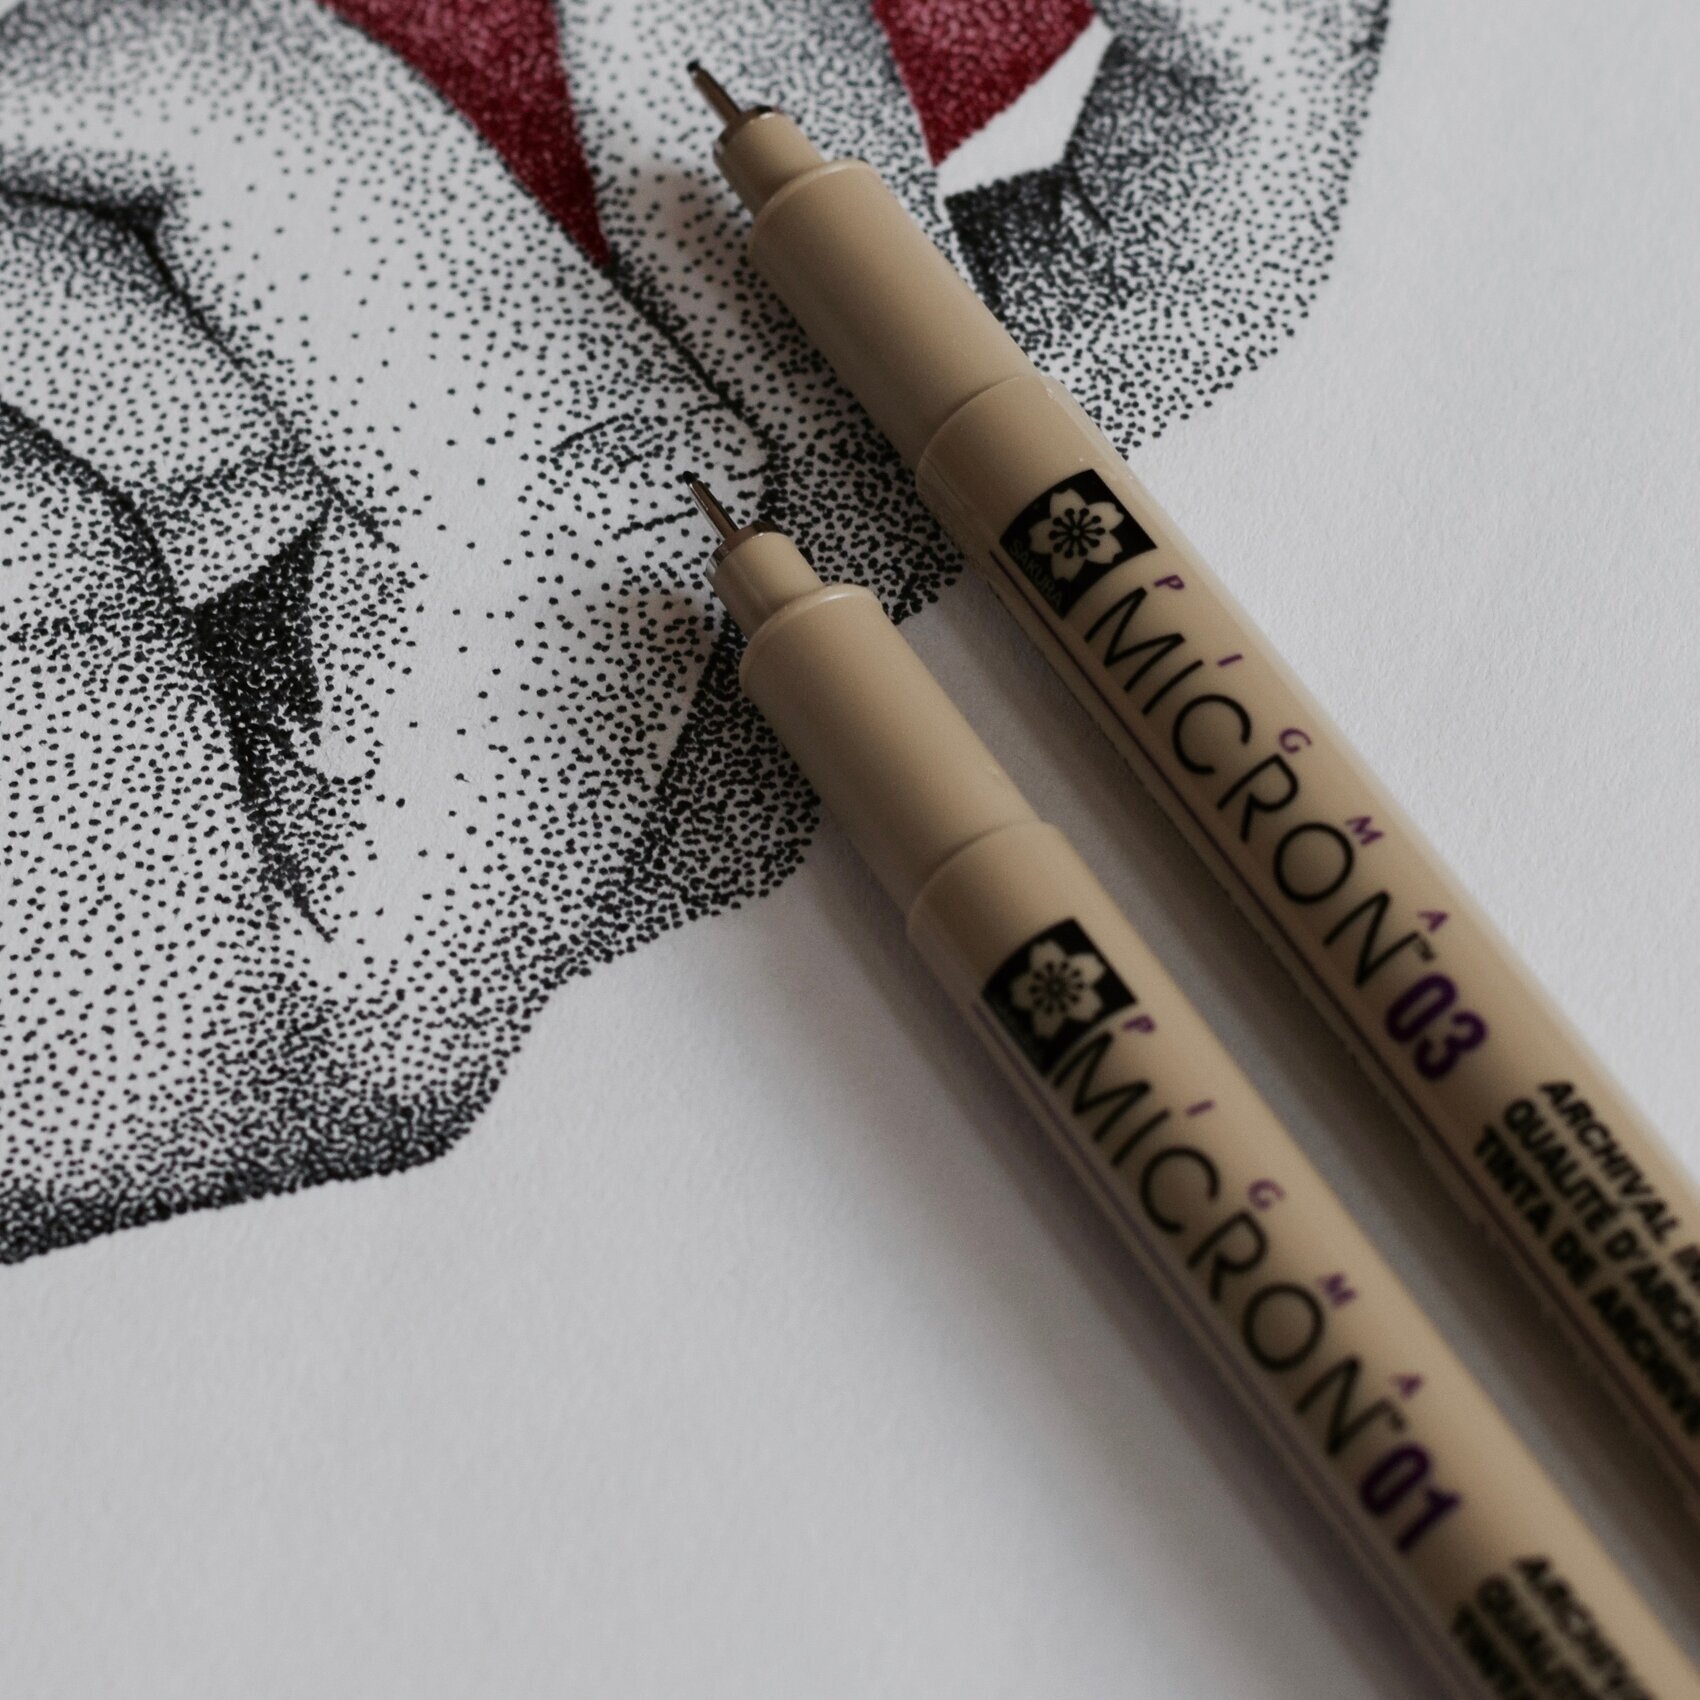
Micron .25mm and .35mm pens | Stippling art pens
2) Choose High Quality Stippling Art Pens
There are many high quality illustration pens on the market you can start with. These include Micron, Copic, Artist’s Loft, Staedtler, and more. It is important that you do some experimenting to find which type works best for you. Using these types of illustration pens will help you to make consistent dots and improve the aesthetic of your stippling art. Each pen type offers several tip sizes. For example, Micron ranges from .20 mm to .50 mm. The smaller the tip, the more dots your stippling art will require. Lastly, it is important to work with heavy drawing paper that absorbs ink well. Bristol paper would be great to start with.
3) Start with Simple Shapes and Objects
If you want to learn or improve your stippling art, it would be a good idea to begin with basic shapes. Start with a two-dimensional square or circle, and try to create a simple dark to light value gradient. Focus on placing circular, consistent dots while avoiding flake marks by working too fast. Once you feel comfortable with simple 2-D shapes, you can start working on 3-D objects like cubes and spheres.

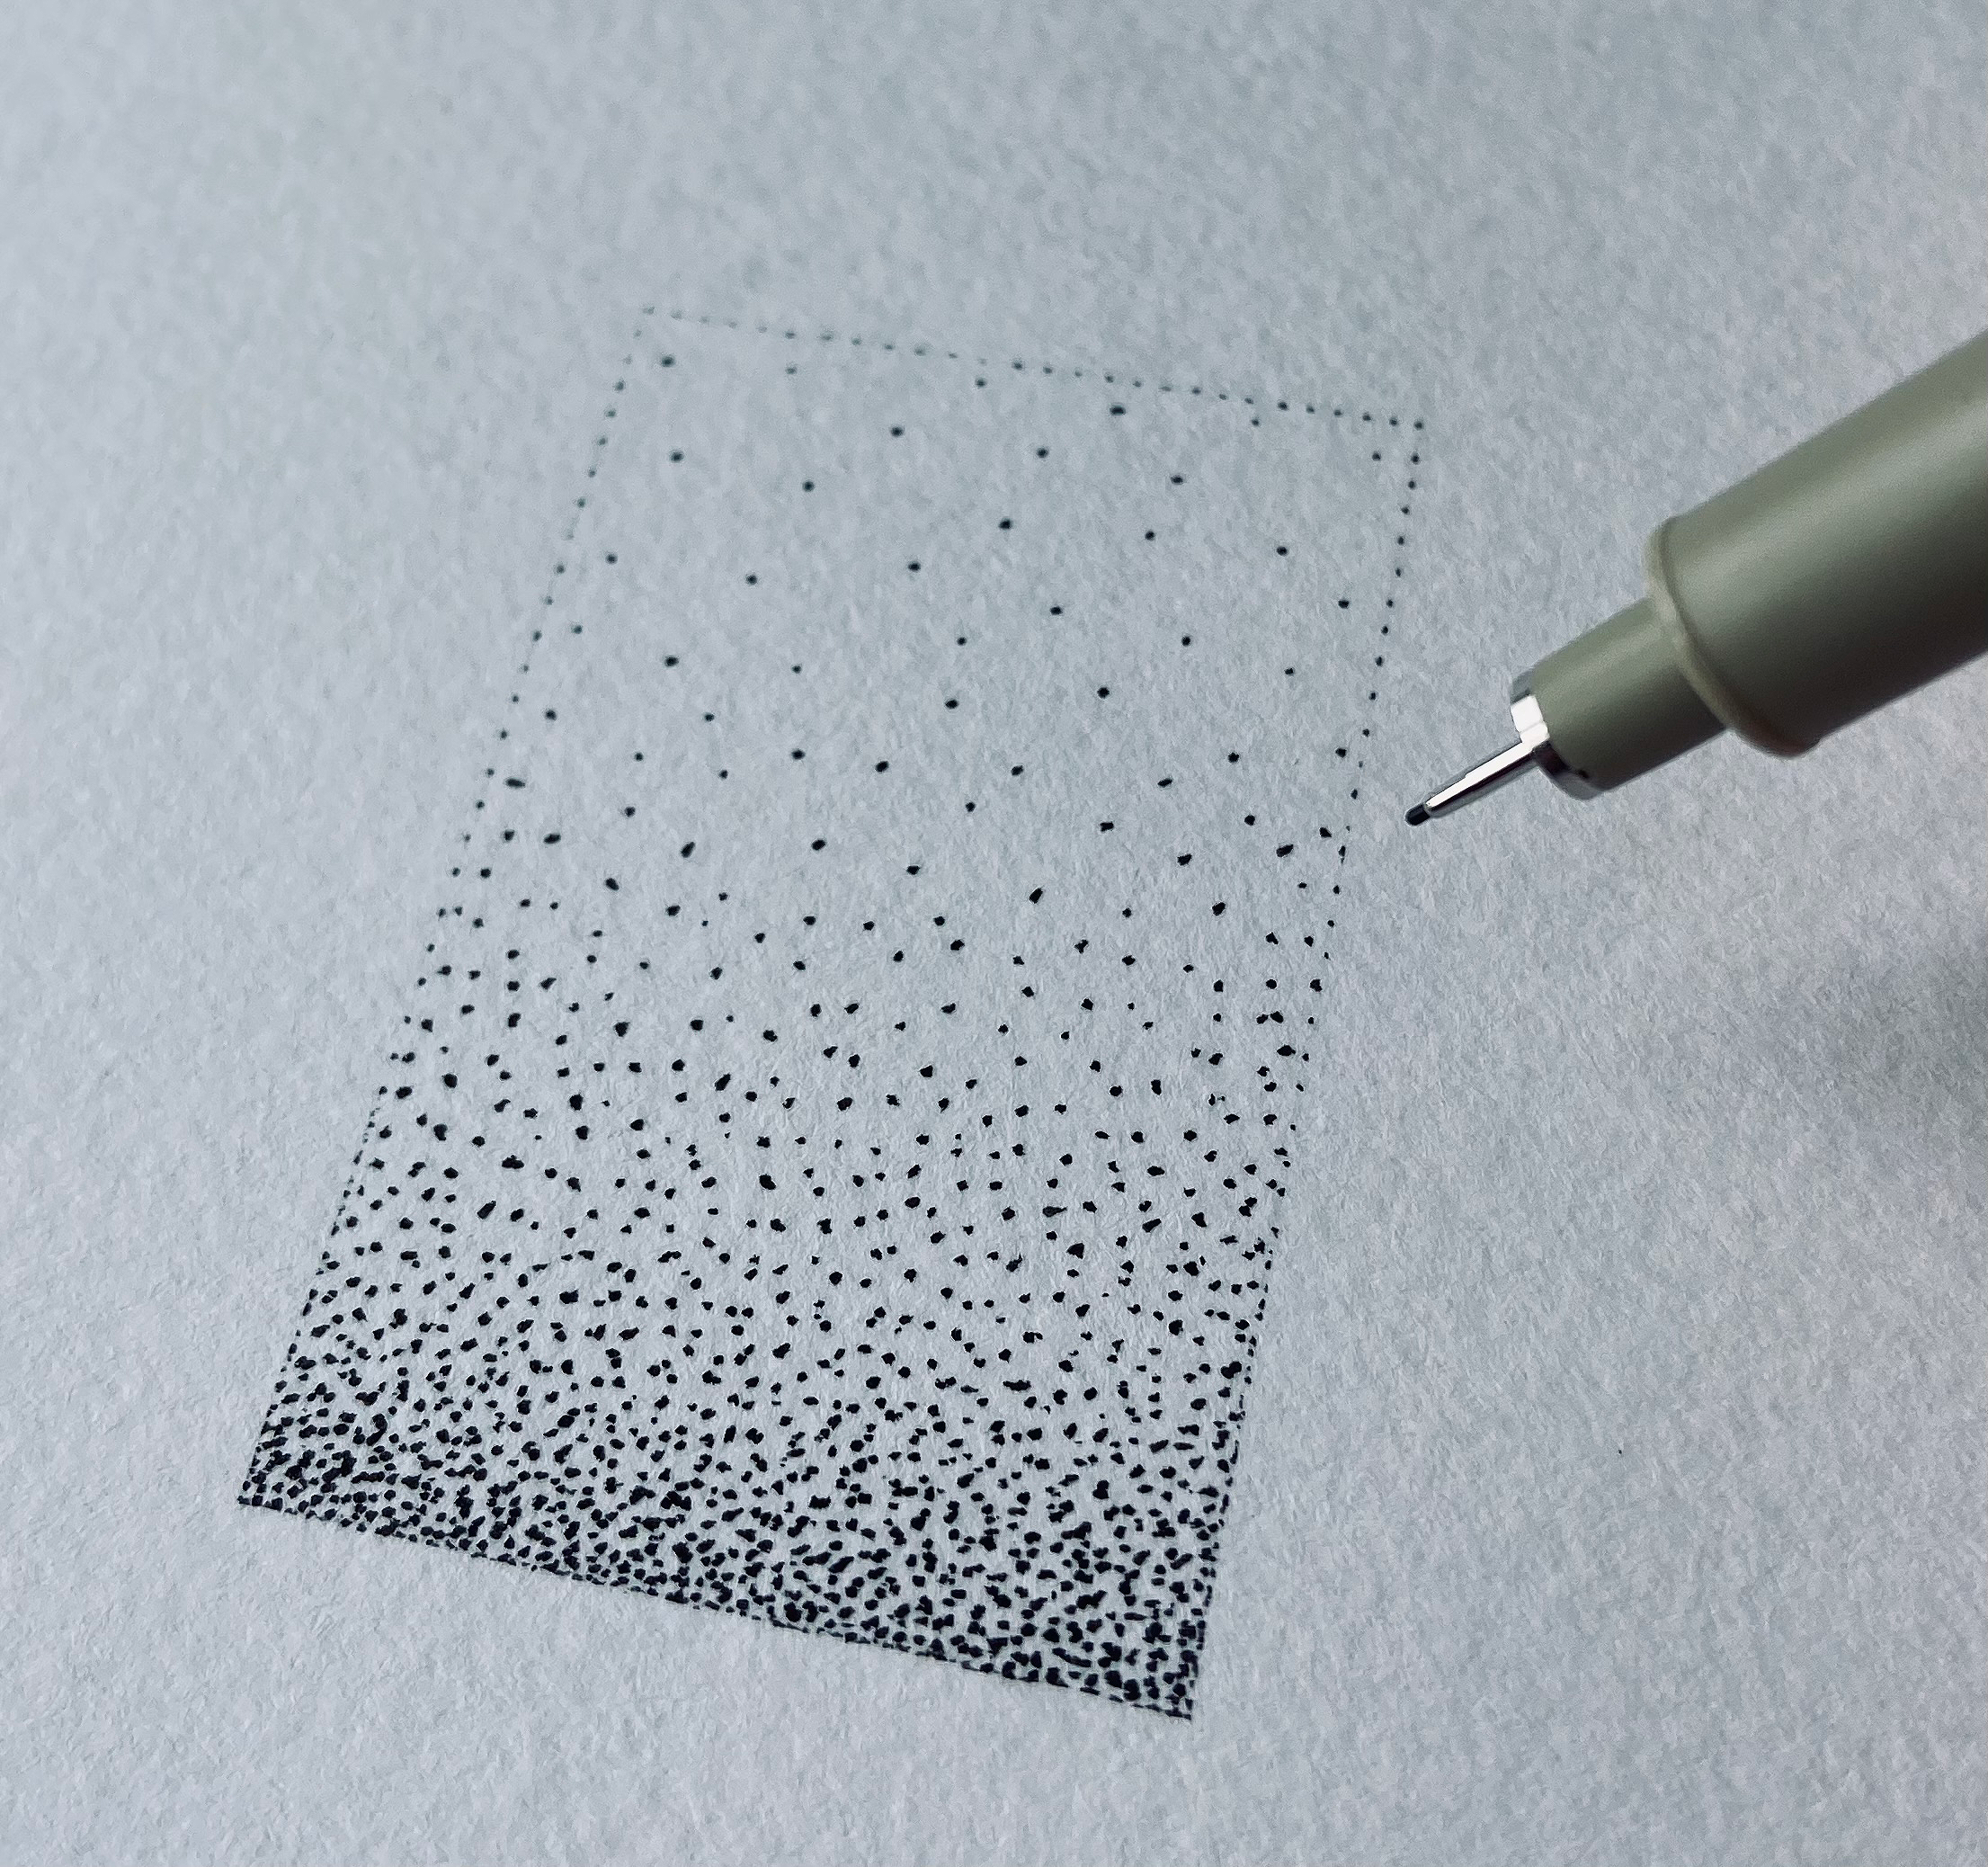
Stipple dots closer together as you outline darker areas of the drawing
4) Stippling Outlines
The outlines of your stippling art are something you will want to be mindful of. As a beginner, you can use regular lines to outline the drawing. As you progress, you can start stippling the outlines to make the piece look more uniform. Place the dots closer together around darker areas, and space them out as you transition into lighter areas.
Stippling art gradient
5) Shading Your Stippling Art
The stippling technique is popular for creating value changes (shadows and highlights). Drawing with dots allows the artist to control how dark they wish to go with his or her shadows. To begin shading an area, place a few dots spaced out from one another. Slowly add more dots to darken the area to your liking. As a rule of thumb, the closer together you place your dots, the darker an area will become. It is important to develop your gradients from dark to light to avoid making lighter areas too dark. You can always add more dots if you need to, but you cannot take dots away if an area becomes too dark.
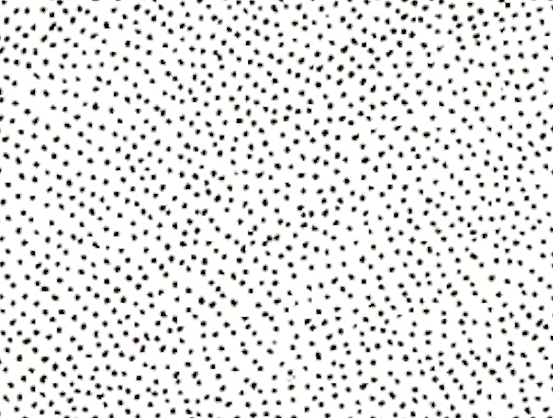
First layer of dots
6) Stippling Textures and Patterns
When creating stippling gradients, the artist will usually do so using the process in step 5. Another method of shading is to stipple layers of dots. To start this process, you first need to establish a layer of dots that are all consistently spaced apart. There should be no gradient in this first layer (see image to the right). Next, repeat this process as many more times as you like until you have several layers of dots on top of one another. Doing this will achieve a unique stippling texture. Once you have this texture, you can then start darkening certain areas as described in step 5.
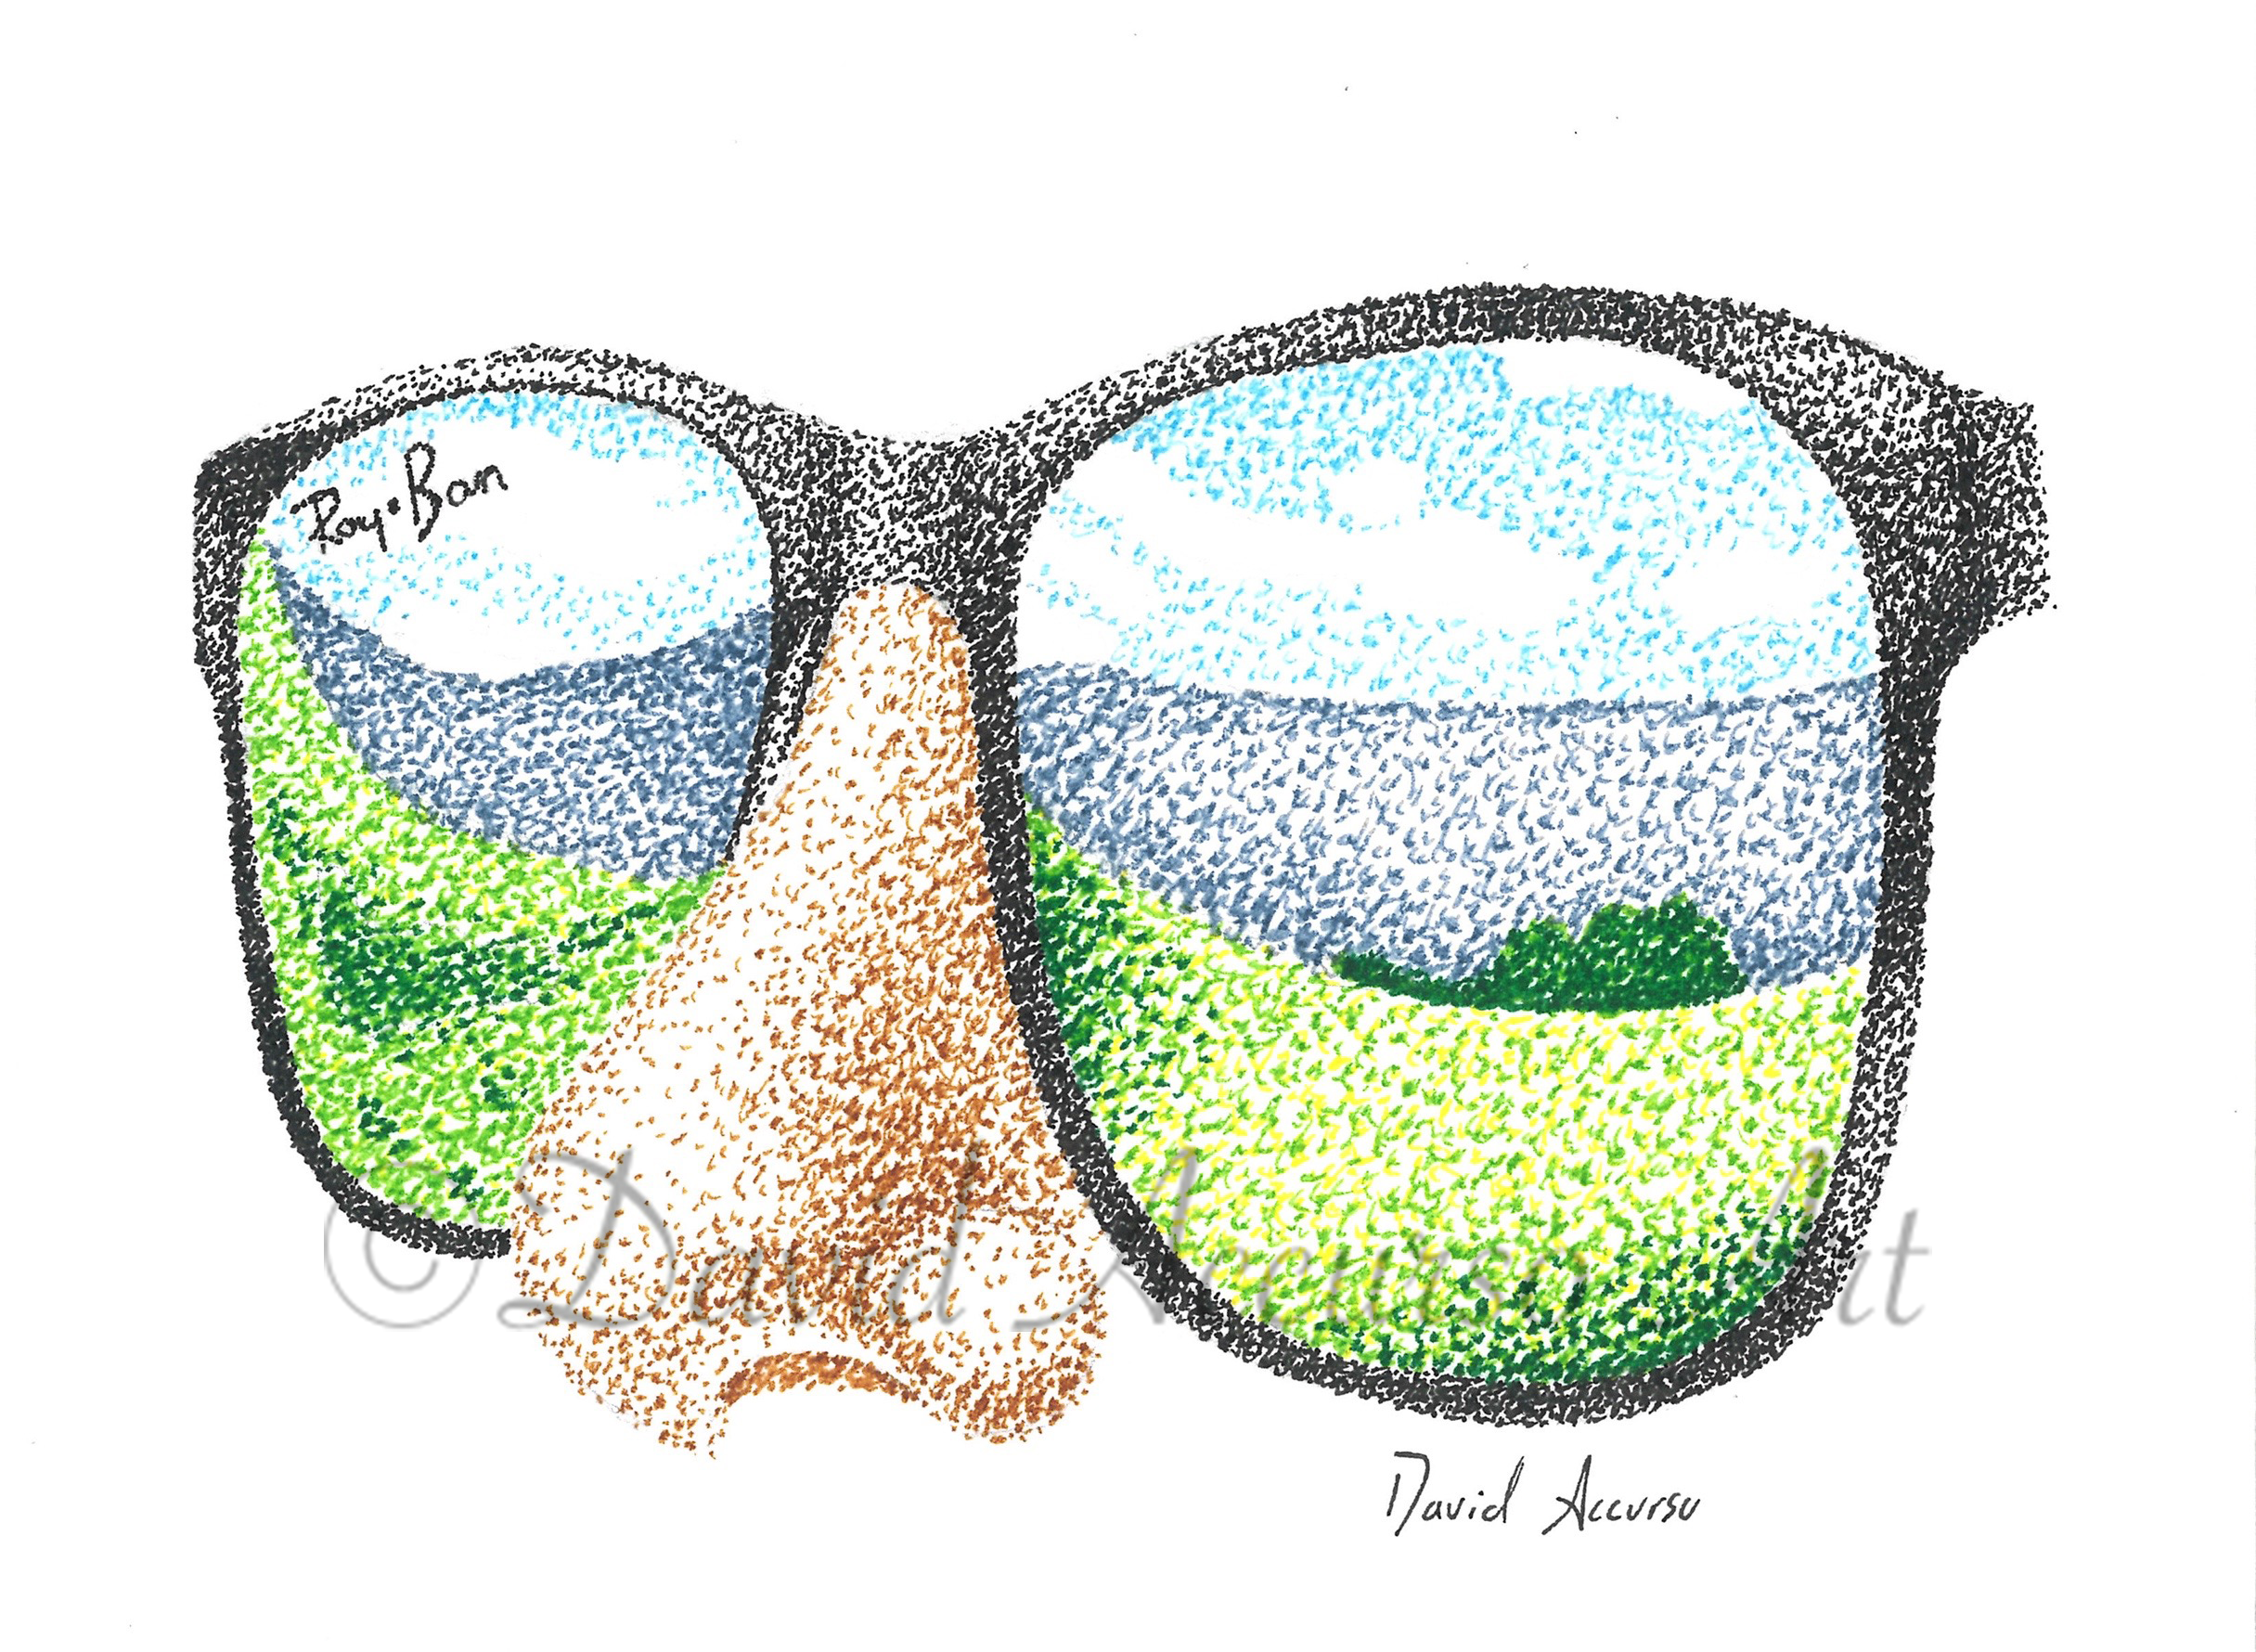
Sunglasses | 7” x 5" | Stippling art
7) Implement Color
Stippling art is most commonly made with black ink. Black and white is the ideal color scheme for improving shading and texture techniques, so it is recommended that beginners practice with black ink. Once you feel comfortable with black and white, practice implementing color to enhance the aesthetic of your stippling art. Color can be used to draw attention to certain aspects of a drawing, and it increases the number of potential subjects one can stipple.
8) Separate the Drawing into Small Chunks
As you improve your stippling art and progress to more complex subjects, it would be beneficial to divide the subject into several parts. This can be done using the grid method. Separating the subject into smaller squares will make the creative process less overwhelming. It will also help you narrow your focus, which will lead to improved detailing in complex aspects of the drawing.
9) Increase Variety of Stippling Art
As you gain more experience and improve your craft, start challenging yourself with different subjects. Practice making all different types of stippling art, such as flowers, fruits, inanimate objects, and even buildings as you gain more confidence. Taking on new projects, as opposed to sticking with what you are comfortable with, will force you to grow and take your stippling art to the next level.
10) Practice
The most reliable and proven method of improvement is practice. Set aside time each day to work on your craft. If you cannot work every day, make it a point to practice every week. Consistency over time is the best way to improve.

The Bean
11” x 14”