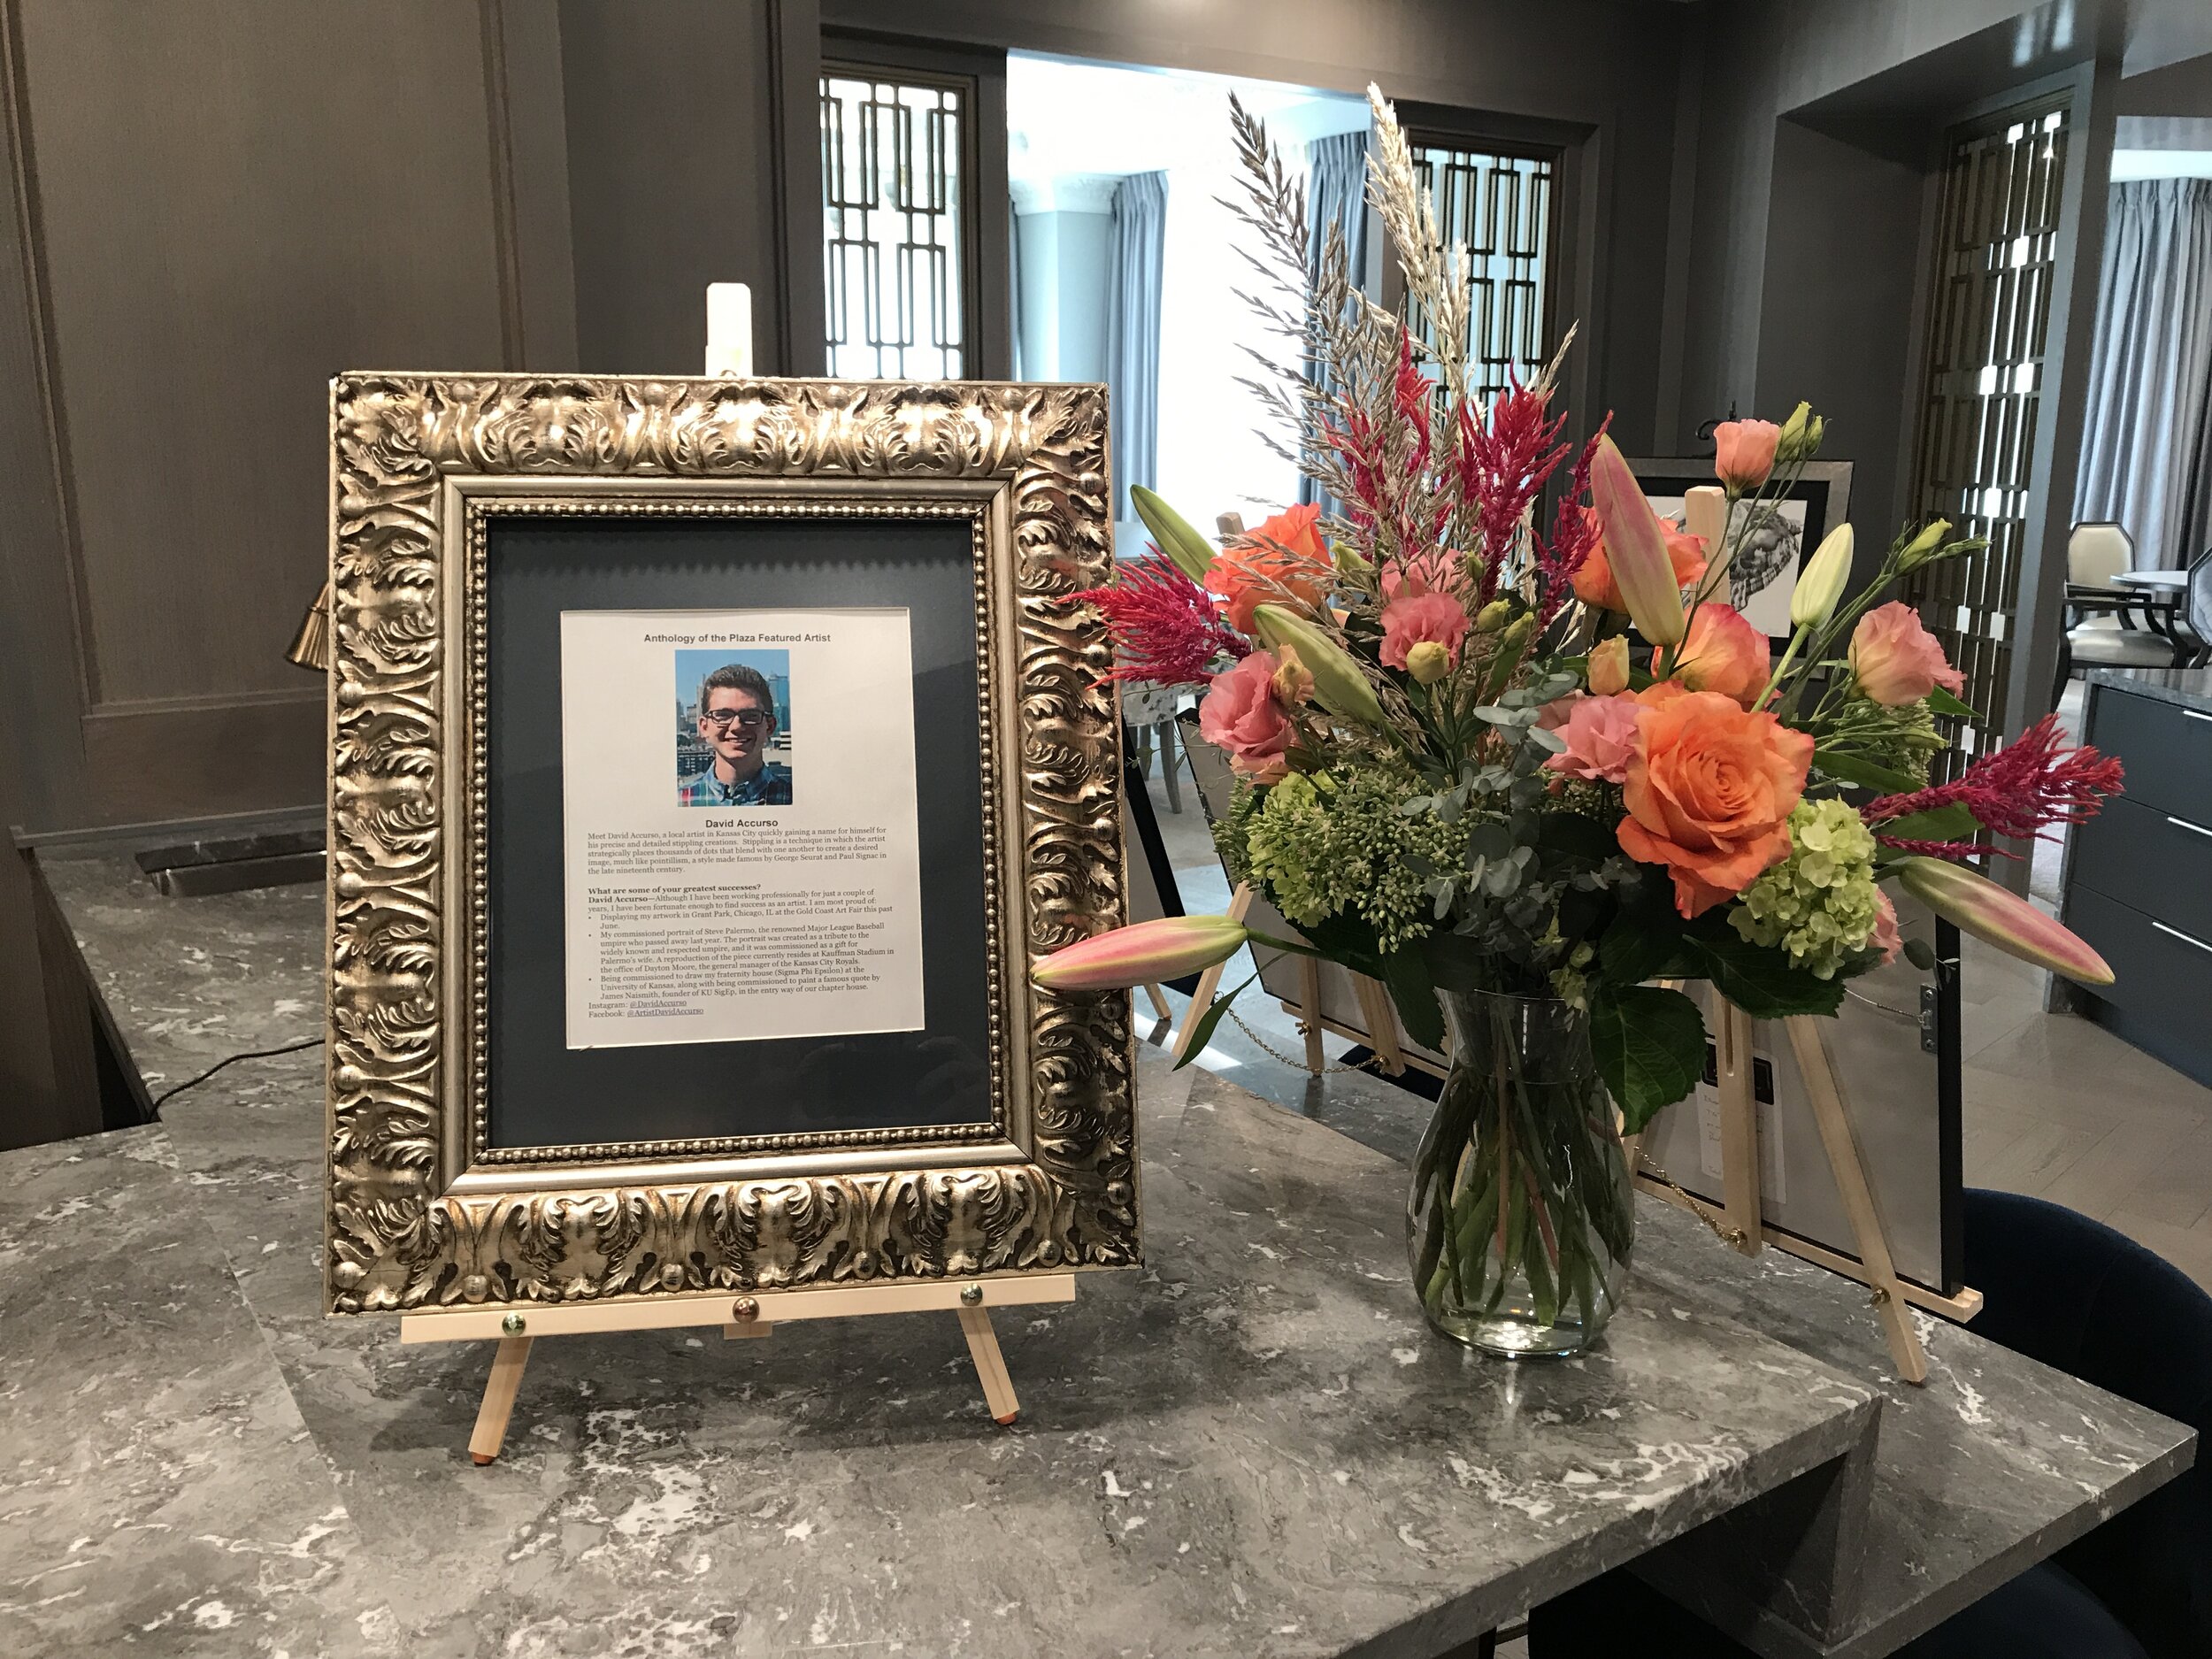
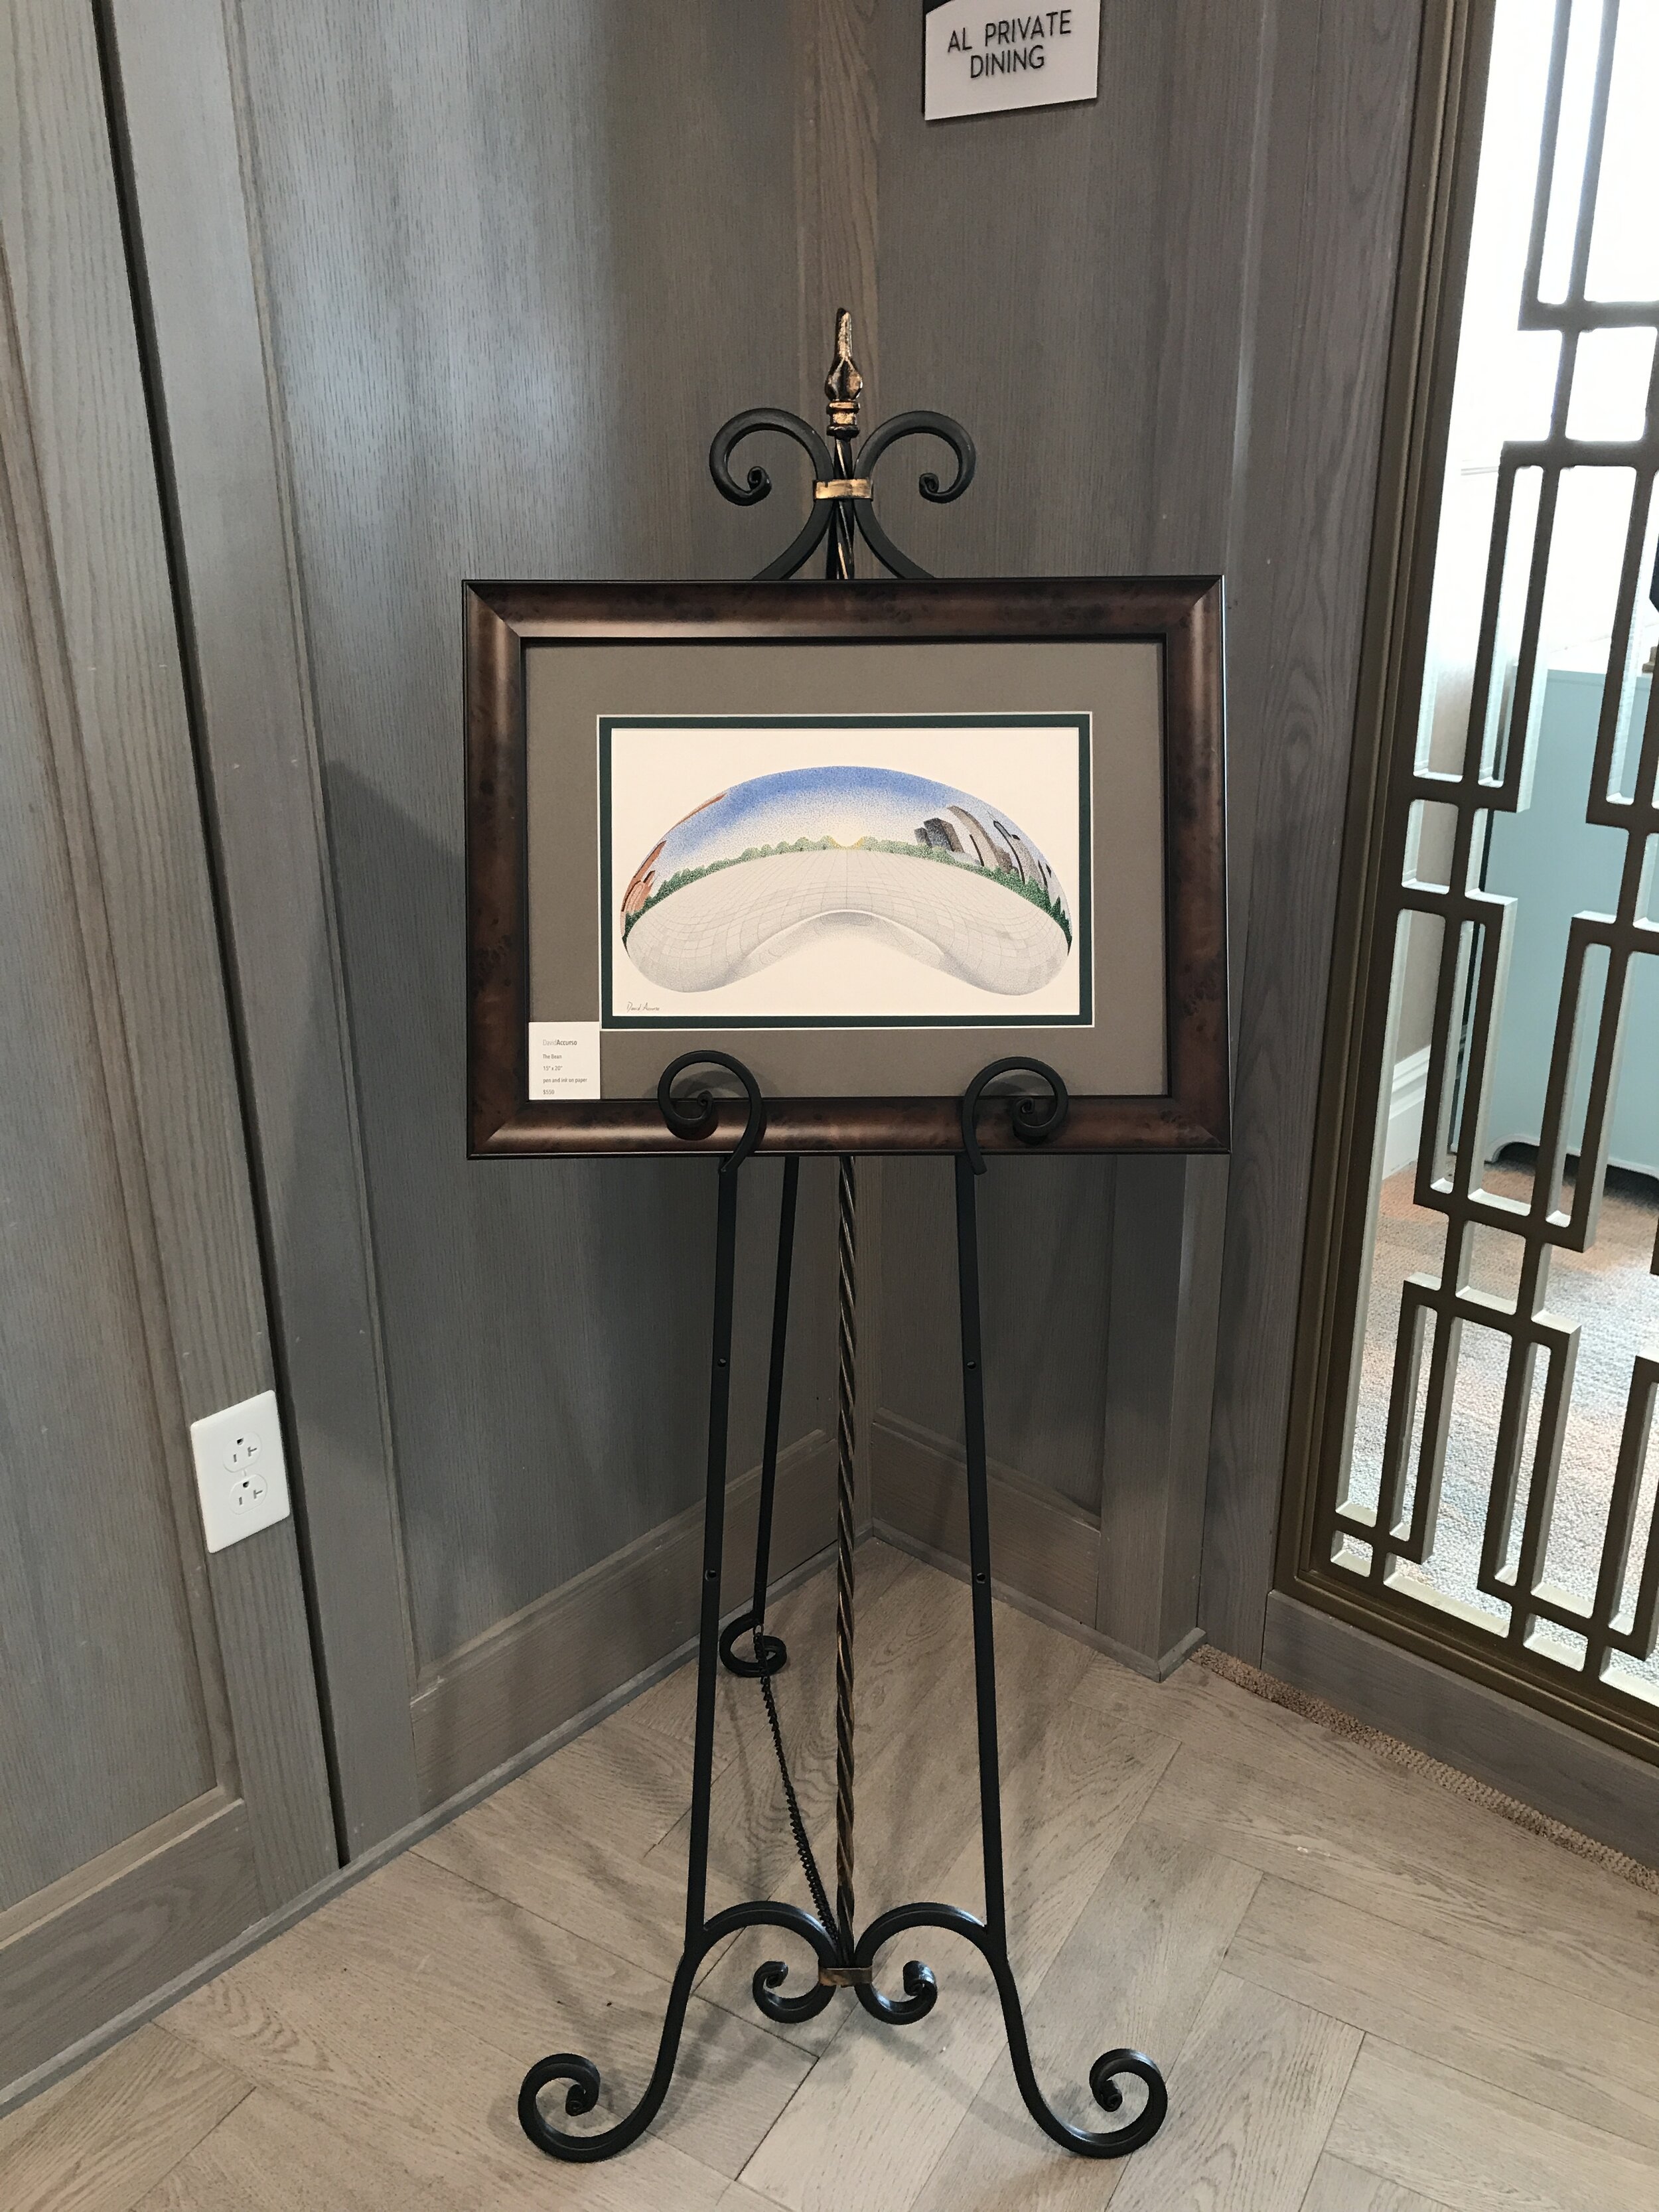
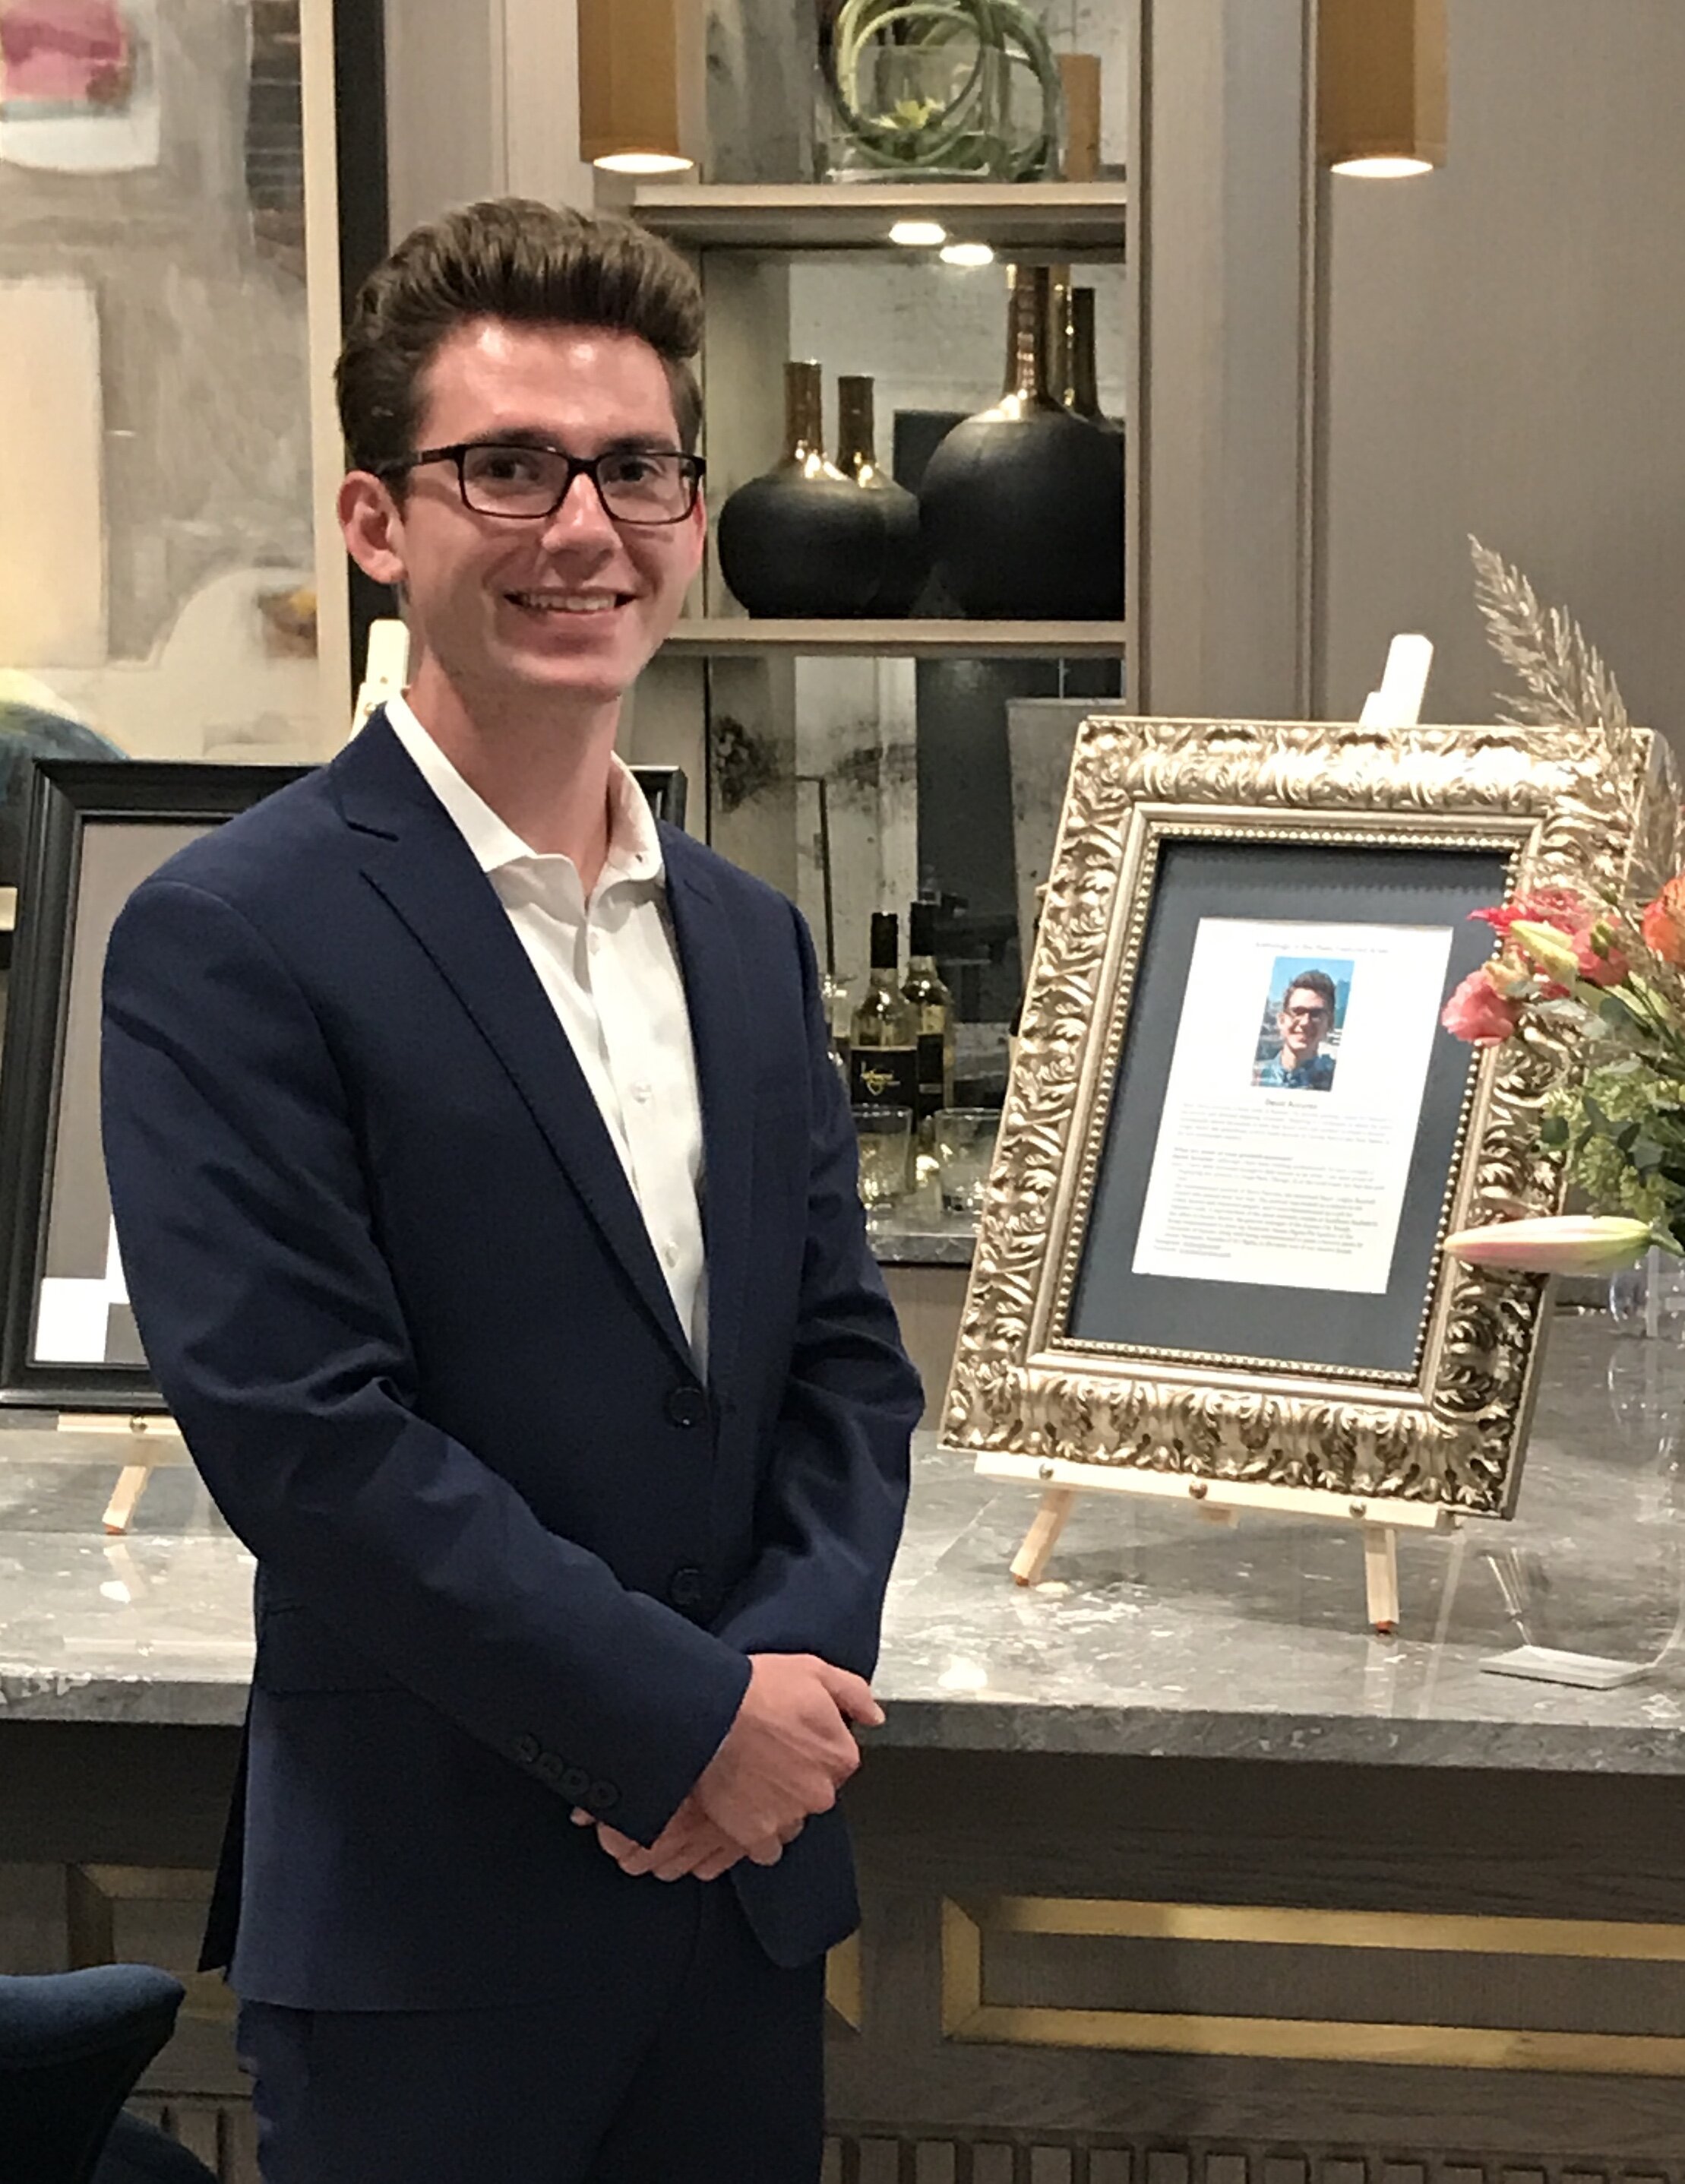
David Accurso had the opportunity to meet with a primary school in Wigan, England to discuss stippling art. The students completed a month-long unit on the stippling technique, and David’s presentation was a fun and informative way for the students to wrap up their art study. The students had the opportunity to ask David questions about his artwork, the creative process, and what a professional career in art looks like.
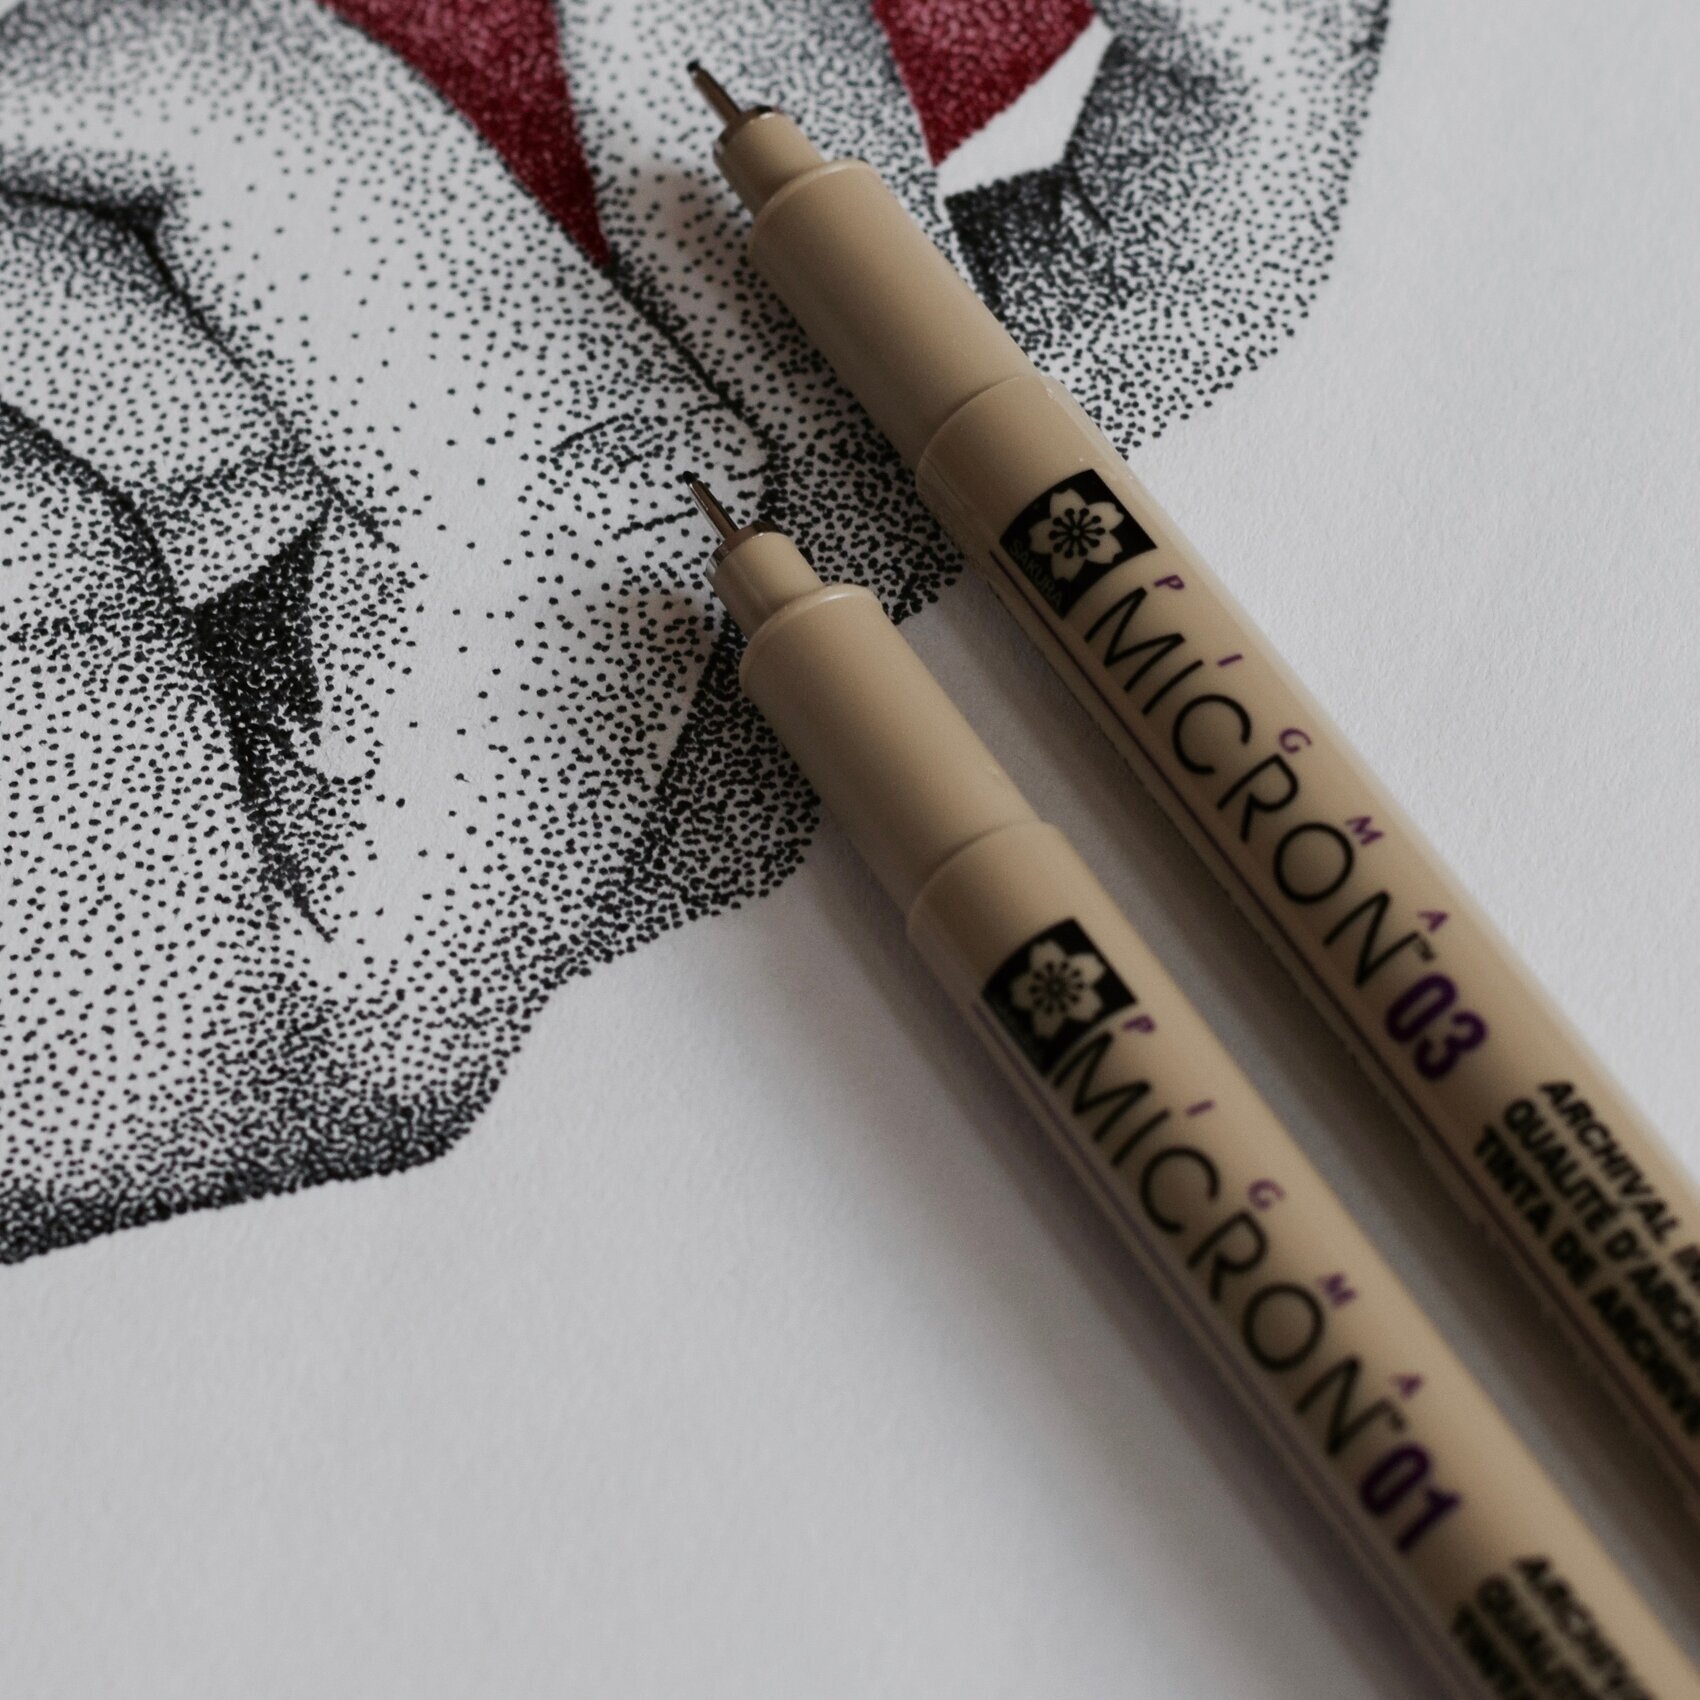
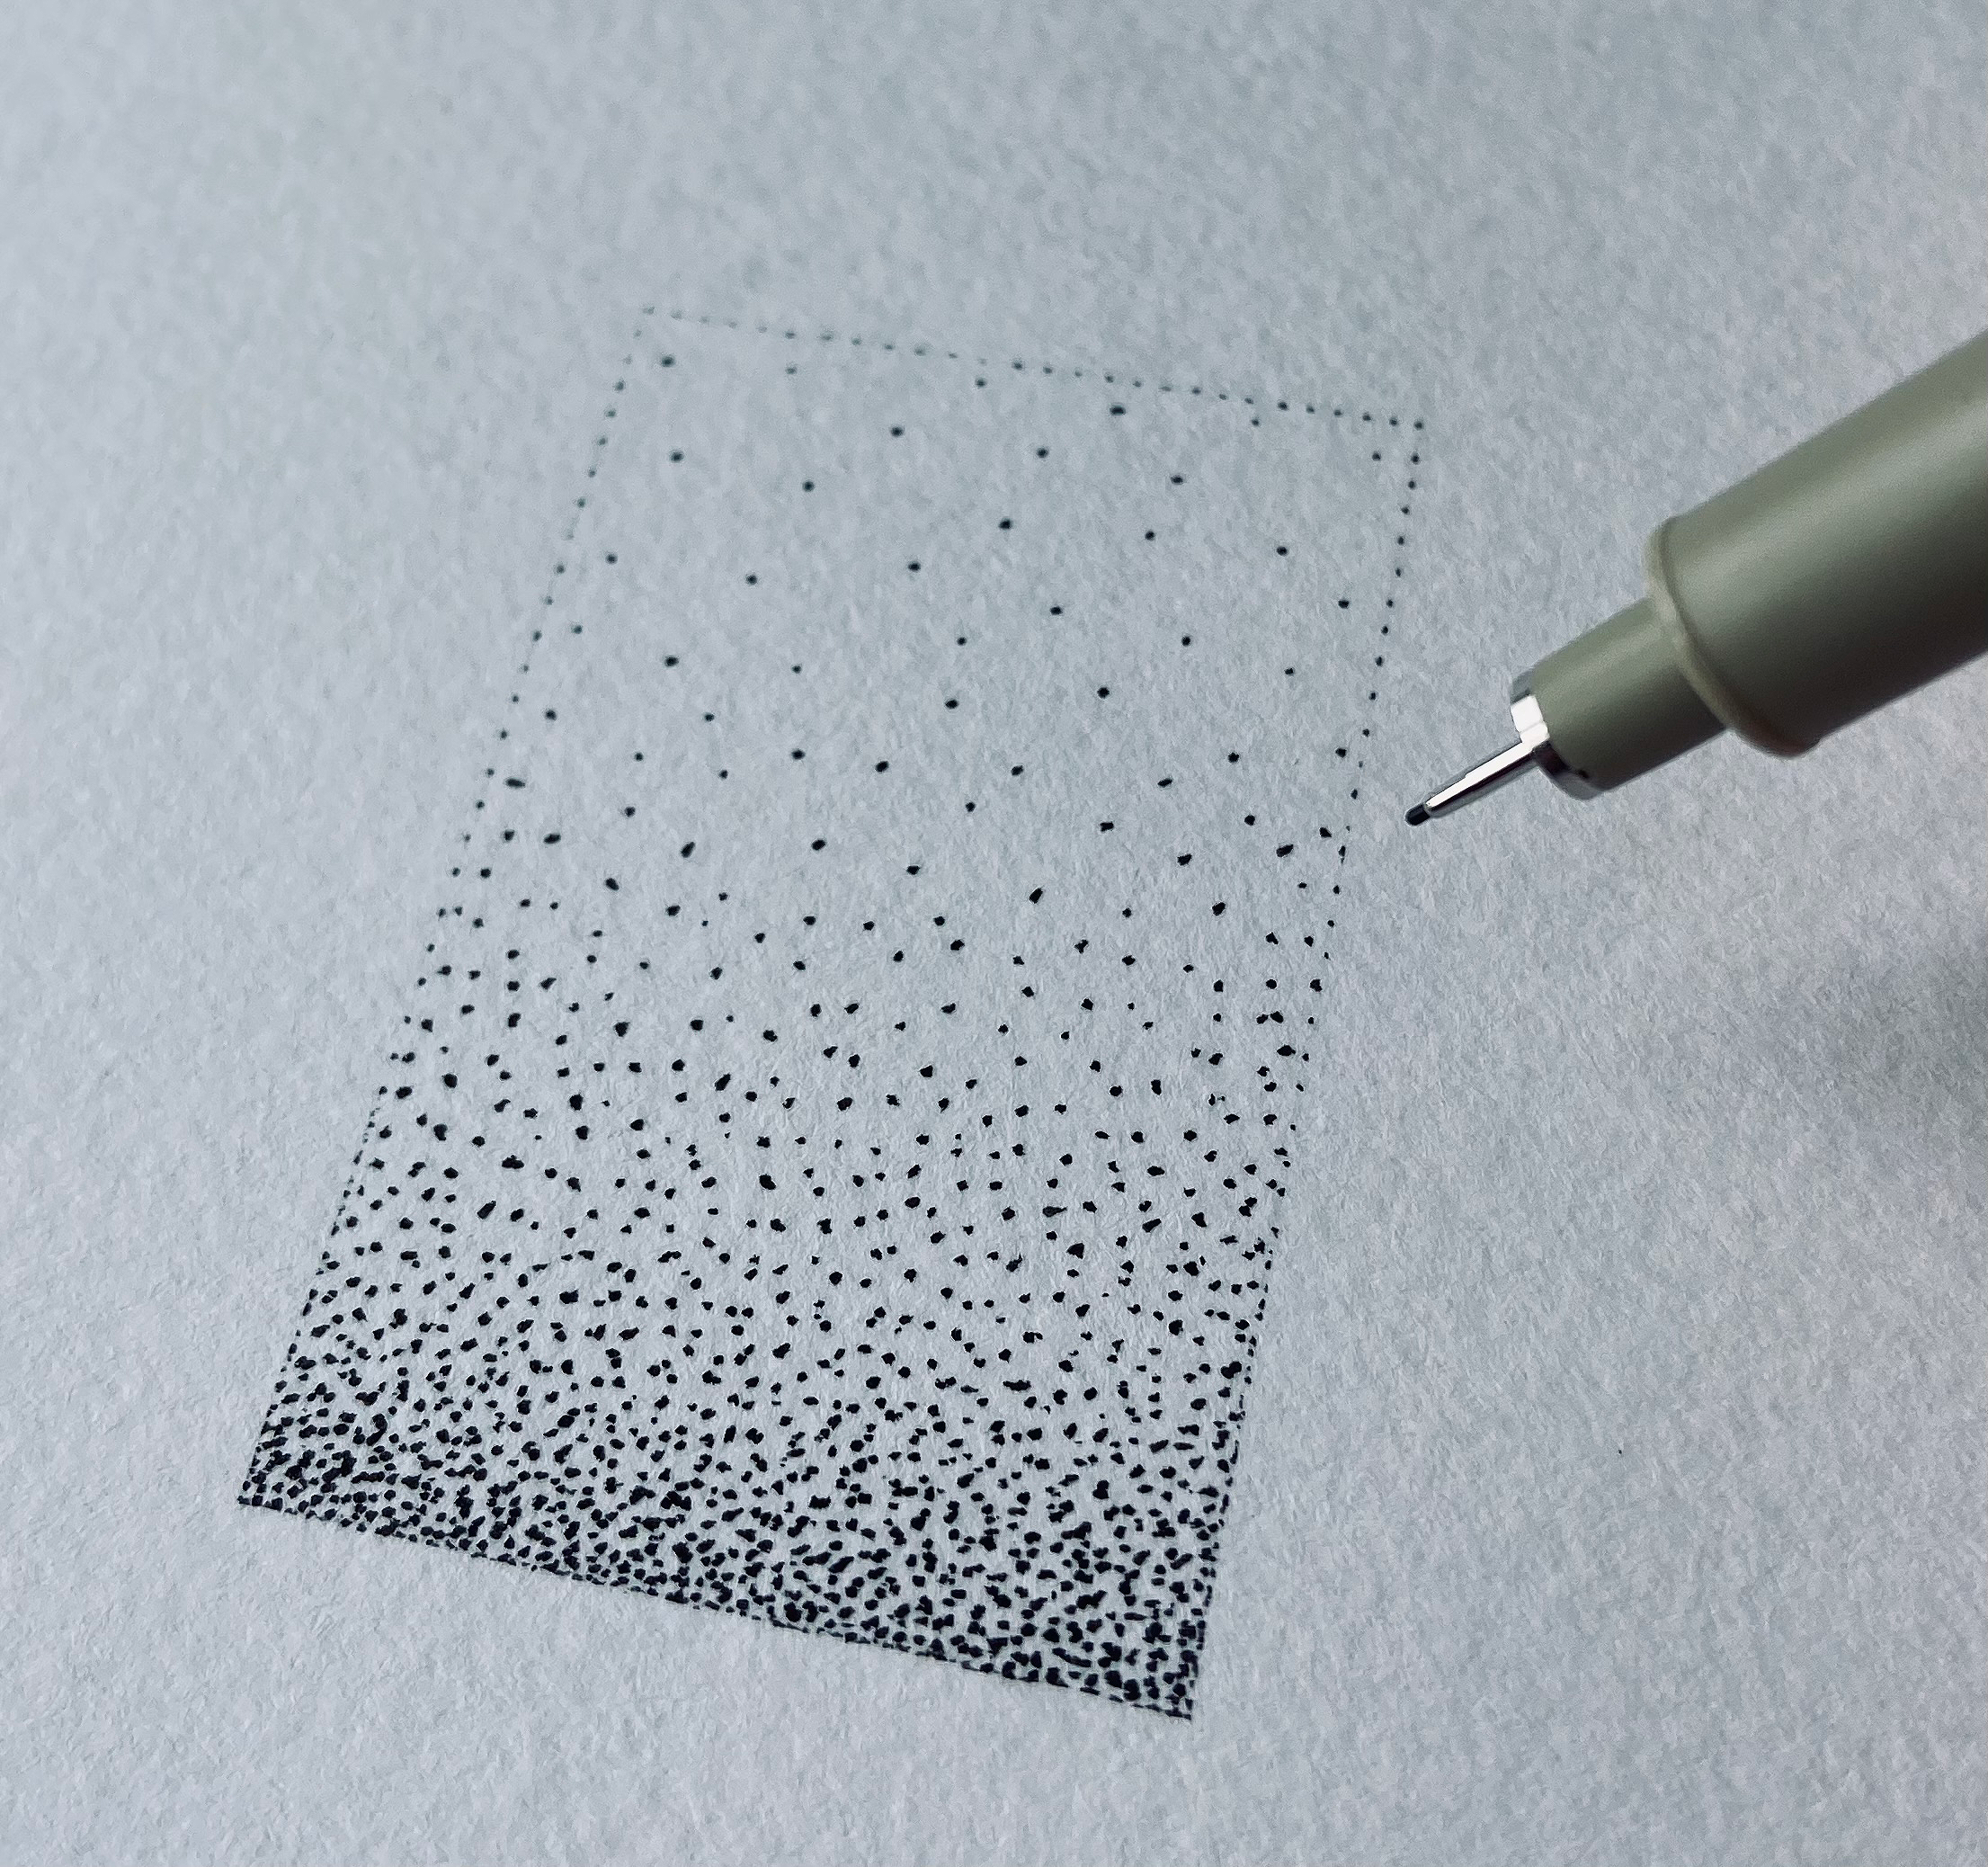
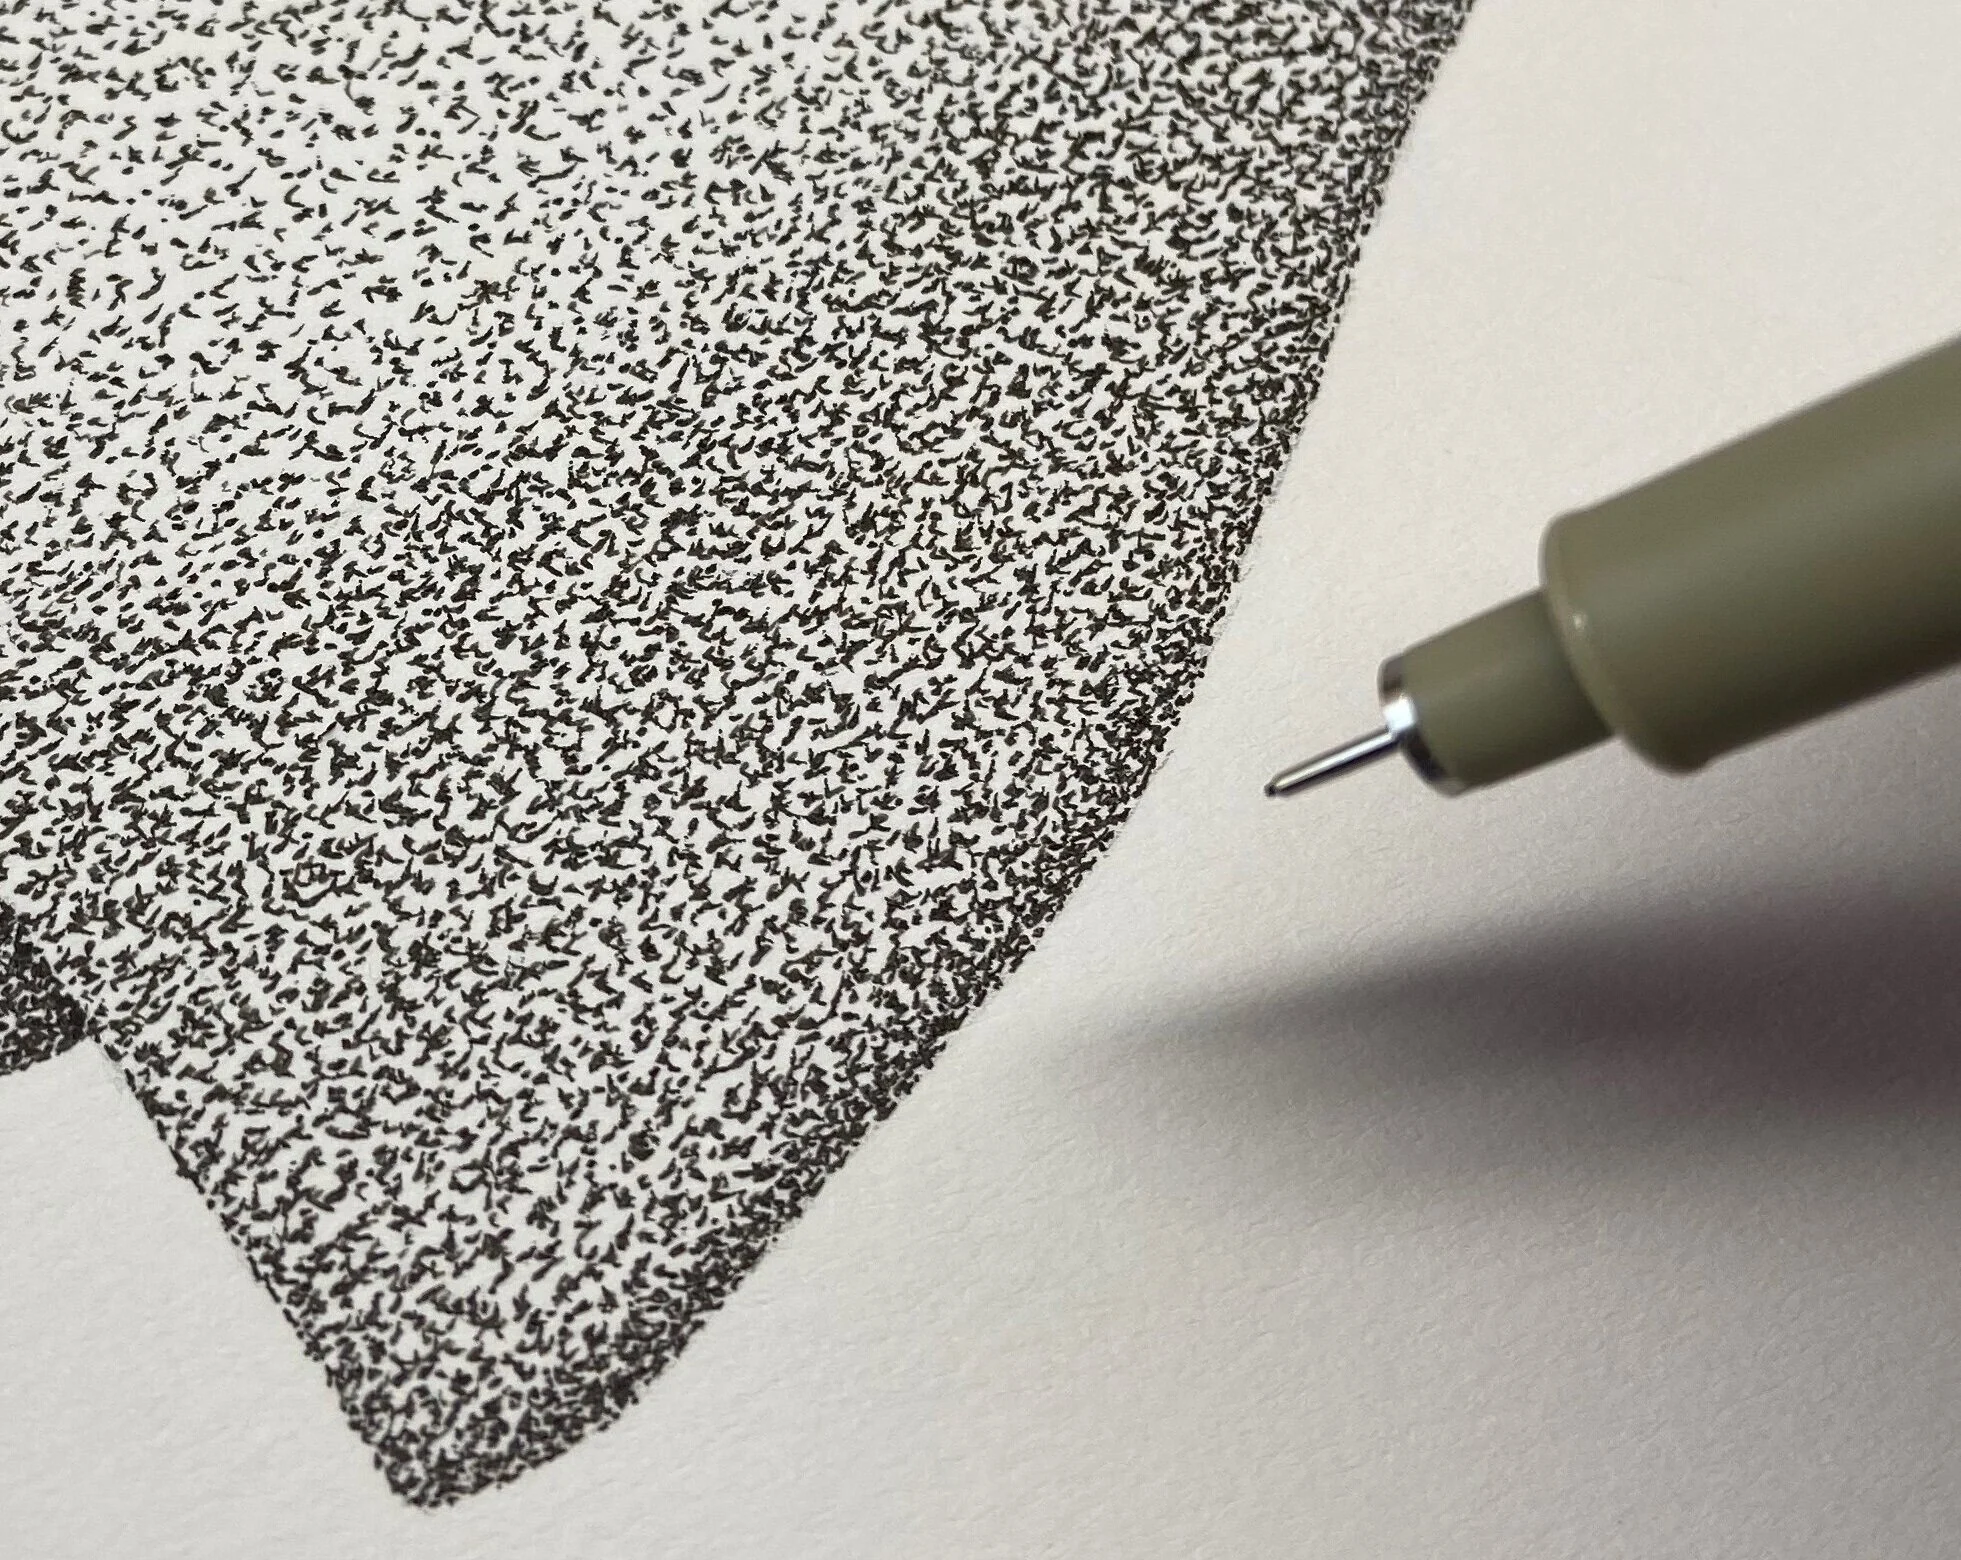
The primary school students spent the month of January learning the basics of stippling art. They experimented with different utensils and learned how to create gradients with their dot placements. The students started by stippling simple shapes and objects, working their way up to stippling facial features at the end of the unit. During the meet and greet, the students took turns showing their work to David.
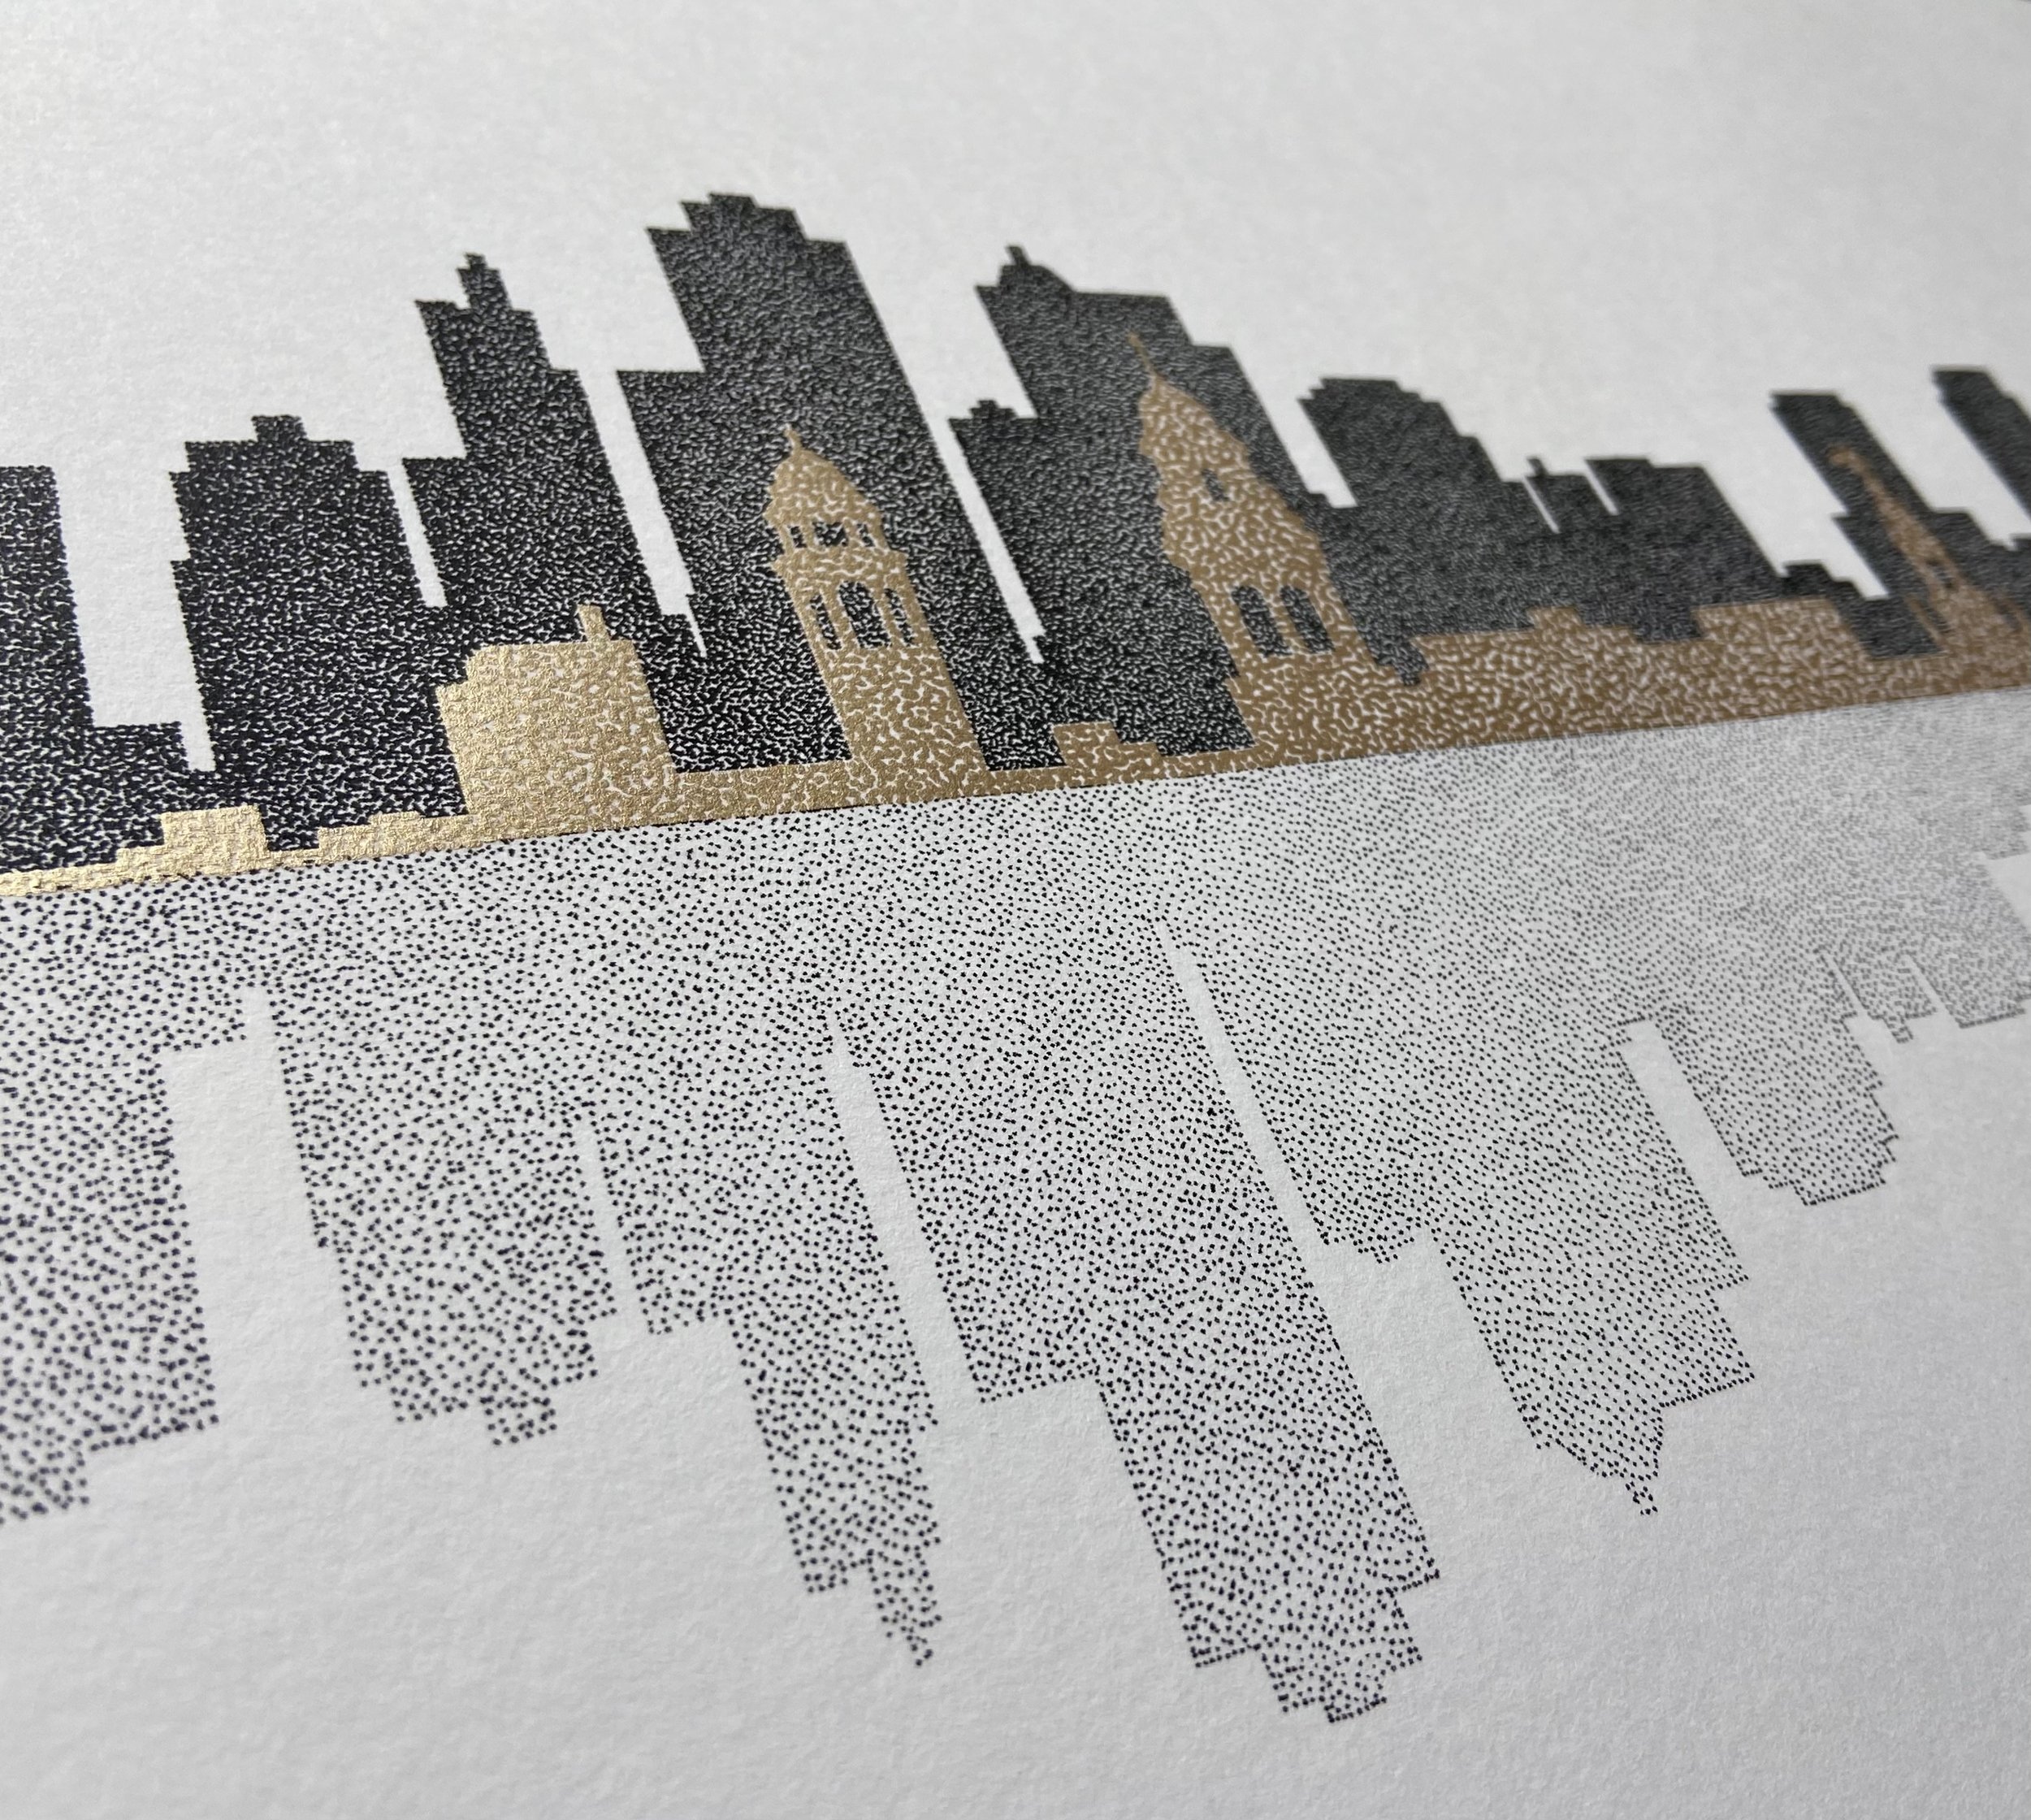
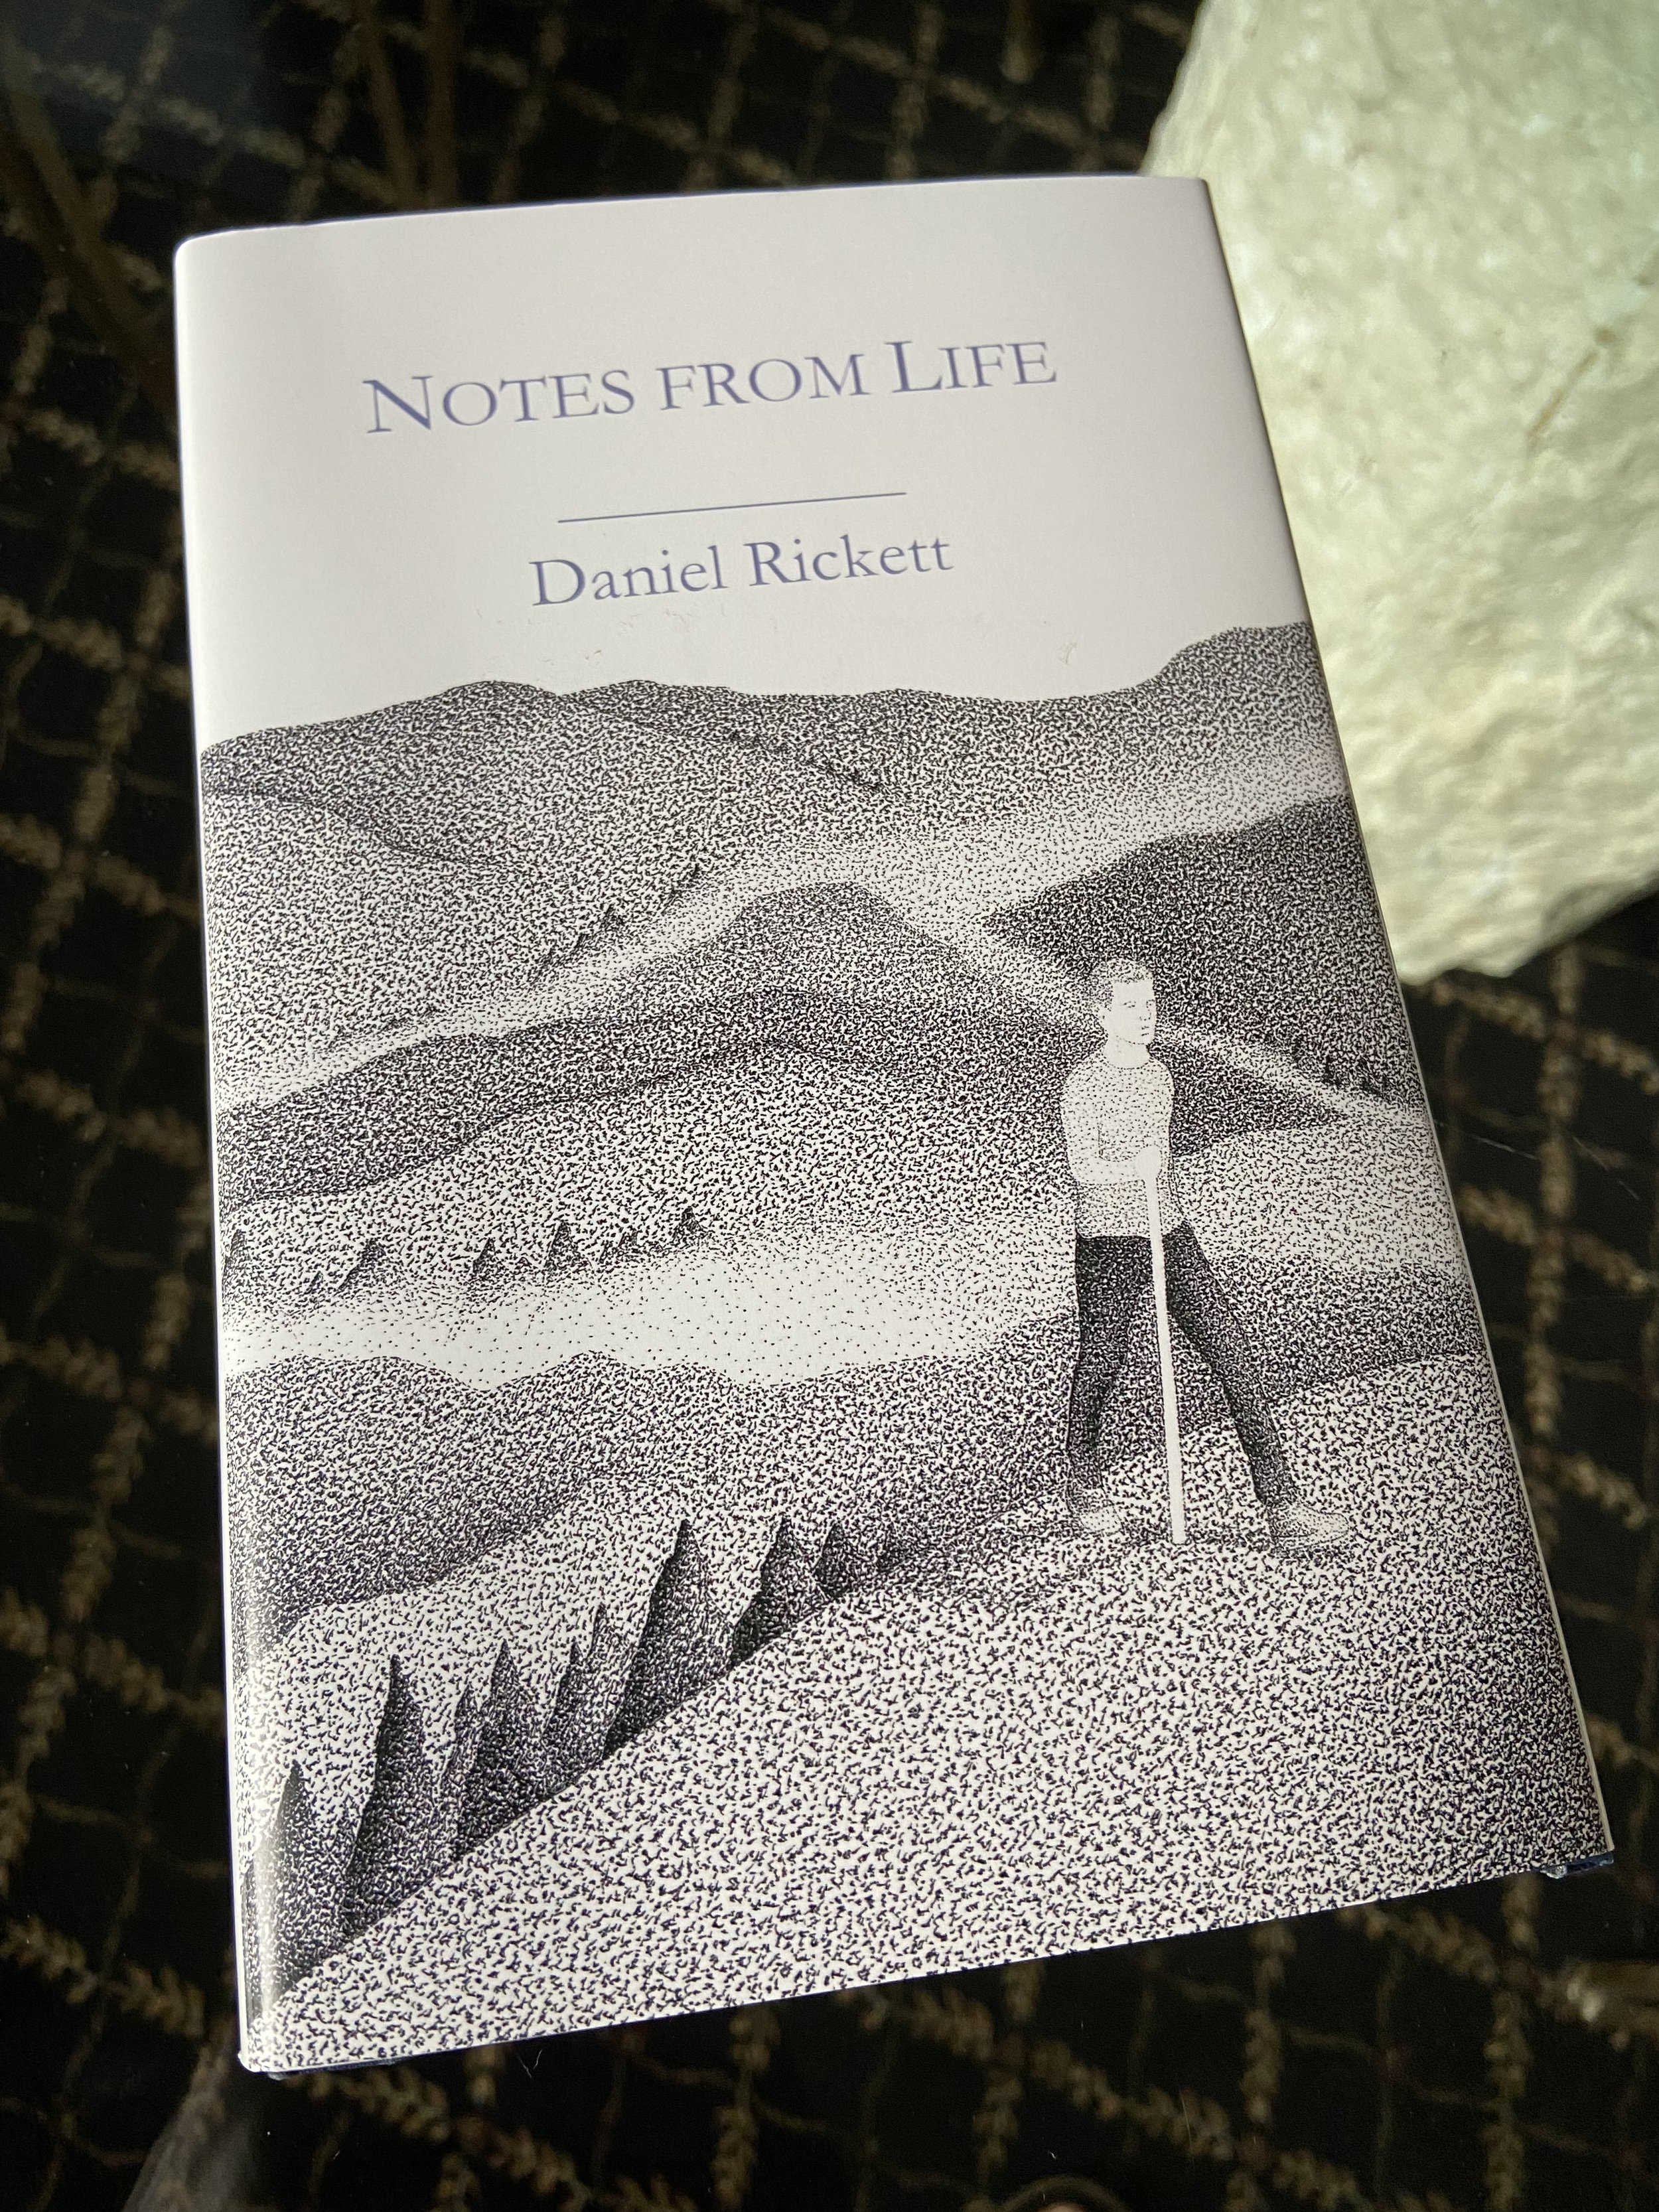
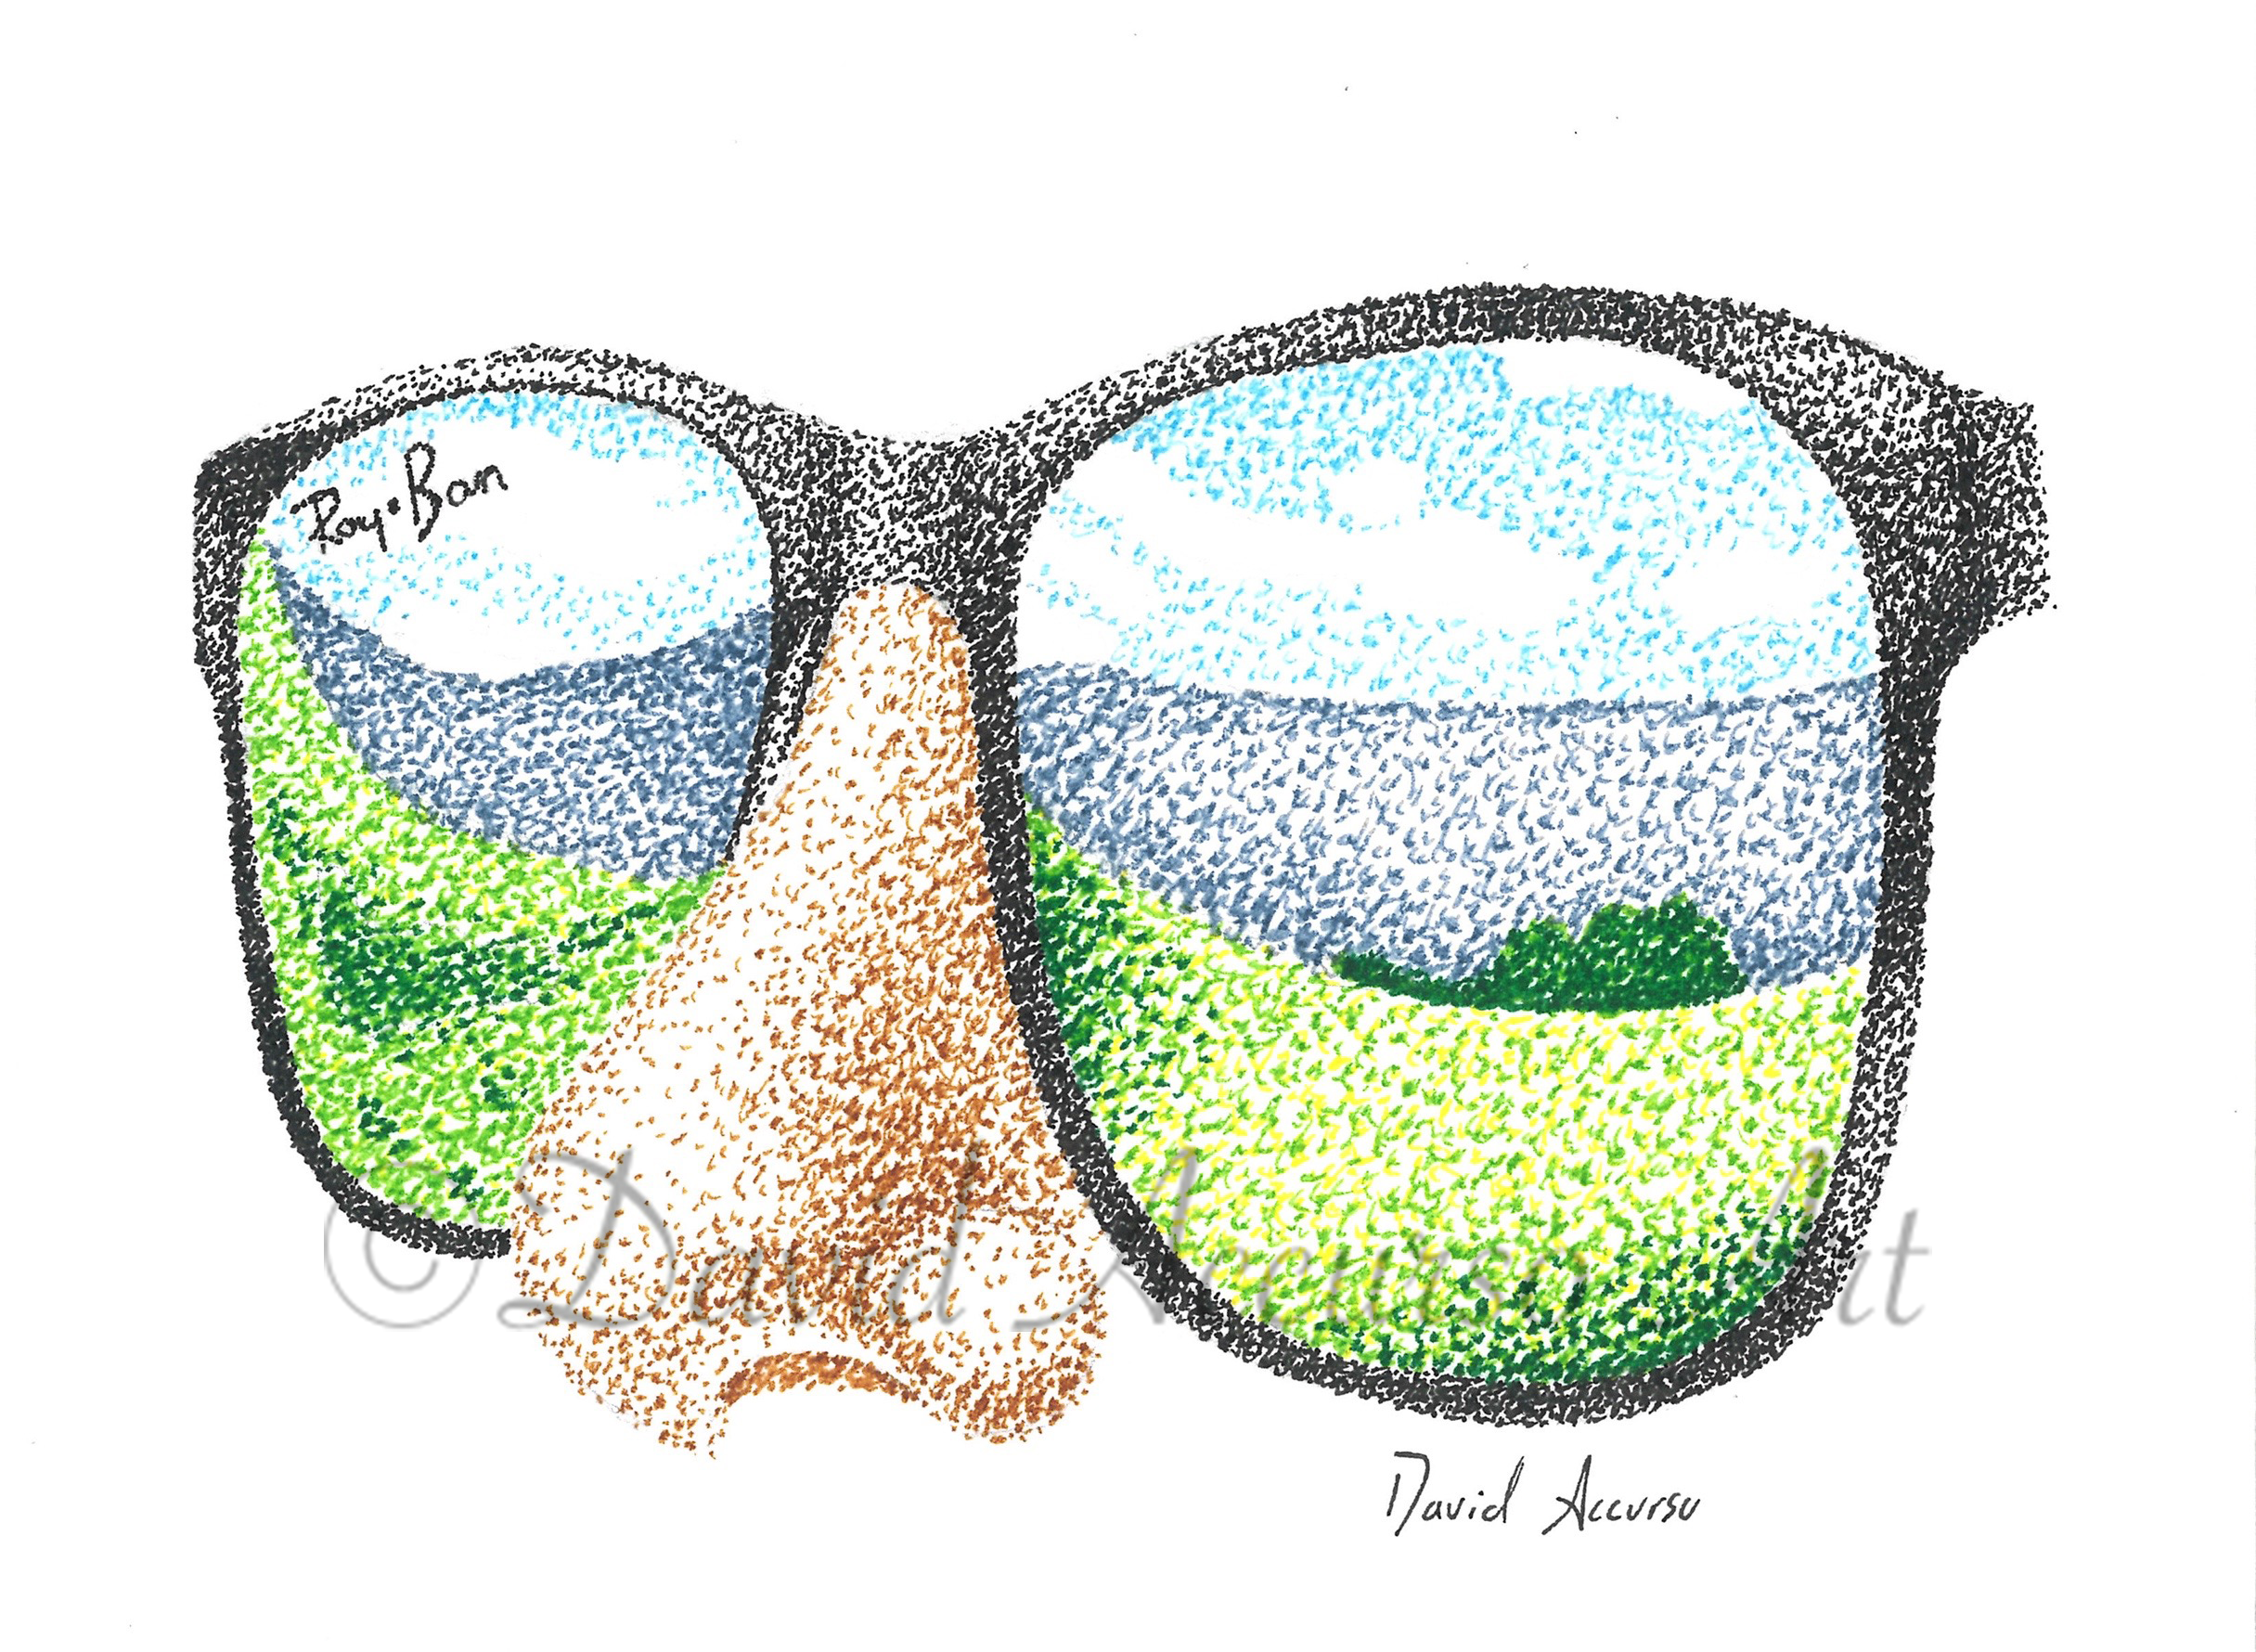
The class drew inspiration from David’s stippling art throughout the unit. His work and techniques were incorporated into some of their daily activities. The goal was to expose the primary school students to a contemporary artist who specializes in the stippling technique.
The meet and greet was a great opportunity for David to see how his art has reached people all over the world. David hopes to continue to inspire others on their creative journeys.